How to sew stylish dress pants: Detailed instructions
Are you looking for a trendy and fashionable outfit idea? Why not try making skirt-looking pants? It’s a unique and versatile piece that combines the comfort of pants with the elegance of a skirt. In this step-by-step guide, we will show you how to create your own skirt-looking pants with detailed instructions.
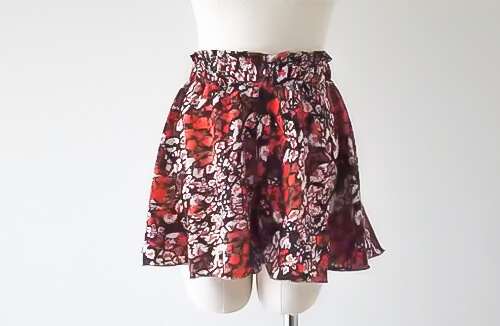
How to sew stylish dress pants
Materials Needed:
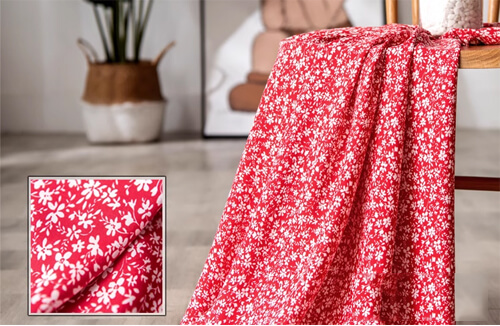
- A fabric measuring 115*115 cm
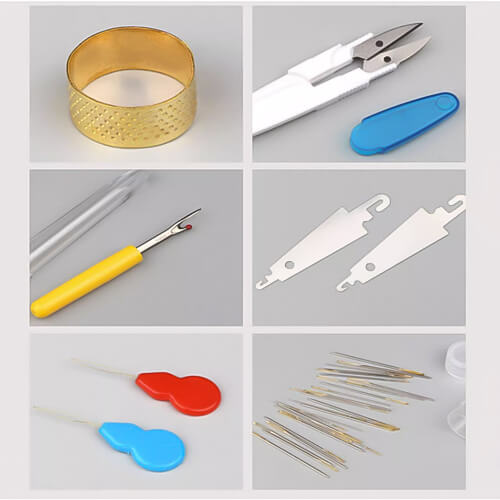
- Sewing pins
- Measuring tape
- Scissors
- Elastic band
- Sewing machine or needle and thread

sewing fabric

sewing aids
Folding the Fabric:
Start by folding the fabric in half to create a triangle shape. This will give you a four-layered fabric.
Securing the Layers:
To prevent the layers from shifting, pin a few sewing pins in the middle of the fabric.
Creating the Skirt-Like Shape:
From the pointed corner at the bottom, fold it back about 10 centimeters. Use a ruler to draw a straight line parallel to the base.
Adding the Waistline:
Next, draw a suitable waistline radius based on your body proportions. Choose a point at the bottom as the center and draw a circular arc.
Marking and Cutting:
Measure a 30 cm length on the straight line and mark it. Draw a vertical line down from the base edge. Create a circular arc around the intersection of the two lines. Then draw a larger circular arc.
Cutting along the Marked Lines:
Carefully cut along the drawn lines to create the desired shape. When you unfold the fabric, you will have the base for your skirt-looking pants.
Creating the Inner Hem:
Measure 2.5 centimeters from the bottom and cut two sections with a width of 5 centimeters. Temporarily secure the side edge with sewing pins. Fold the fabric over to the other side.
Securing the Side Edges:
Continue by securing the middle part of the bottom edge with sewing pins. Cut a piece of fabric measuring 12 cm wide and 102 cm long. This will be used to create the inner hem of the pants.
Sewing the Inner Hem:
Sew along the edge of the fabric you just attached, simultaneously sewing the hem border. Sew along the shorter edges of the long fabric piece to form a circle.
Adding the Elastic Band:
Prepare a wide elastic band. Use a marking pen to indicate the top point of the elastic band on the fabric. Sew a section at this point. Then, sew the bottom edge of the fabric to the top edge of the inner hem.
Creating the Waistband:
Next, thread the elastic band through the waistband. This will give your skirt-looking pants a comfortable and adjustable fit.
Finishing Touches:
Finally, sew the hem border to tidy up the bottom edge of the pants. And there you have it! Your stylish skirt-looking pants are complete.
Now, enjoy wearing your new creation. These pants are not only fashionable but also comfortable, making them perfect for hot summer days. Stay cool and stylish with your skirt-looking pants!
Remember to share your finished project on social media and inspire others to create their own unique fashion pieces.


