How to Make a Denim Bag Using a Sewing Machine – Detailed Guide
Don’t ever throw away those scraps of denim fabric lying around your house. With just a little effort, you can recycle them and turn them into a highly practical and valuable product. Follow these steps to create a stylish and trendy denim bag:

How to Make a Denim Bag Using a Sewing Machine
Gather the materials:
- Denim fabric scraps
- Scissors
- Sewing machine
- Measuring tape
- Lining fabric
- Two name tags
- Zipper
- Pins
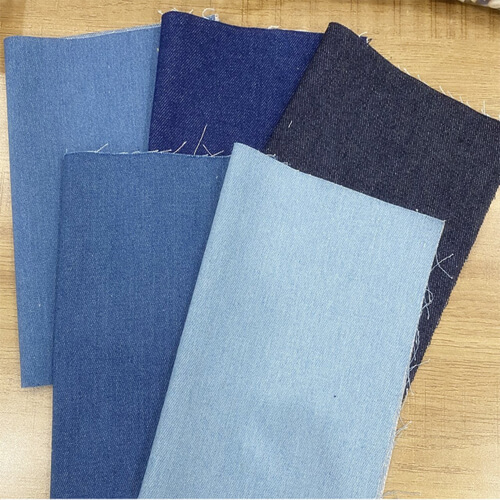
Jean fabric
Prepare the fabric pieces:
- Draw parallel lines on the denim fabric, with a distance of 1.5 cm between each line.
- Cut along the parallel lines to create small fabric strips.
- Cut a few additional fabric strips measuring approximately 4 cm and 6 cm in length.
- Create a pile of these fabric pieces for later use.
Cut the main pieces:
- Cut a piece of denim fabric measuring 70 cm x 35 cm.
- Cut a corresponding piece of lining fabric.
Attach the lining fabric:
- Place the lining fabric on the backside of the denim fabric.
- Pin the lining fabric in place.
- Sew the lining fabric onto the denim fabric.
Divide the fabric into squares:
- Cut the denim fabric into two equal squares.
- Draw short lines, spaced 1 cm apart, on the edges of the fabric squares.
- Use a ruler to connect these lines and create long parallel lines.
- Draw two parallel lines on the remaining two edges of the squares, equidistant from each other.
Arrange the fabric strips:
- Place the small fabric strips along the previously drawn parallel lines.
- Stack the fabric strips on top of each other, with adjacent strips overlapping.
Sew the fabric strips:
- Sew along the edges of the fabric strips to secure them in place.
- Make sure the adjacent fabric strips are joined together.
- This step will create the textured denim look.
Create a pocket:
- Cut a pocket from an old pair of jeans.
- Sew the pocket onto one of the fabric squares.
Attach the zipper:
- Prepare the zipper by sewing it onto the middle of the other fabric square.
- Place two fabric pieces on either side of the zipper and secure them with pins.
- Sew along the sides of the zipper to attach it to the fabric.
Sew the bag:
-
- Place the two fabric squares together, with the pocket and zipper facing inward.
- Sew along the bottom and side edges of the fabric squares to form the bag.
- Leave a small opening on one side for turning the bag right side out.
Finish the bag:
-
- Fold the bottom corners of the bag to create a triangular shape.
- Sew across the folded edge to secure the shape.
- Trim off any excess fabric outside the seam.
- Turn the bag right side out through the small opening.
Attach the handles:
-
- Cut a strip from the waistband of the old jeans.
- Sew the strip onto the upper edges of the bag to create handles.
Congratulations! You have now completed a beautiful denim bag. It looks simple yet stylish and retains the trendy appeal of denim fabric. Additionally, it is both practical and easy to pair with different outfits. You truly deserve this fabulous bag!
For visual reference, you can check out this video demonstrating the process.


