What Temperature Do You Heat Press A Hat: The Perfect Heat
Embarking on a quest for impeccable design through heat pressing a hat? Achieving those flawless results can indeed be challenging. Fortunately, we’ve sifted through the research, sparing you the legwork! Our insightful blog post addresses all your burning questions about the optimal temperature for heat-pressing hats and serves up valuable tips to ensure success in every endeavor.
Uncover the secrets to harmonizing your desires with the most suitable temperature for heat pressing in our enlightening article! Ready to delve into a wealth of knowledge? Let’s dive in!
In this article, you’ll not only find the golden balance between your design aspirations and the right temperature but also unearth practical advice for a foolproof heat-pressing experience. From expert opinions to real-life applications, we’ve got you covered, ensuring your hat-making journey is both enjoyable and fruitful.
Key Takeaways
- When utilizing a specialized hat press machine for various hat types and materials, the common temperature setting ranges from 284°F to 375°F (140°C to 190°C), with a press time of 15 to 30 seconds and generally medium pressure. In contrast, the Cricut Hat Press operates at a slightly lower temperature range of 280°F to 355°F (137°C to 180°C) and lighter pressure, with a press time of 15 to 25 seconds.
- Heat pressing hats necessitates a thorough grasp of the varied steps to guarantee outcomes like successful preheating, accurate temperature settings, and correct design affixation.
- For best results, initiate with preheating the hat, employ sealers for intricate details, and lay protective cloths over the surface, as undue pressure can result in damage. These practices ensure a seamless process and uphold the quality of the final product, making your designs stand out in durability and vibrancy.
Optimal Cricut Hat Press Temperature, Time, and Pressure for Different Hat Types and Fabrics
what temperature do you heat press a hat? Below is a detailed information table
1. Specialized Hat Press Machine:
| Hat Type | Material |
Press Temperature (°F/°C) |
Press Time (seconds) |
Pressure |
|---|---|---|---|---|
| Baseball/Snapback | Cotton, Polyester, Twill | 320°F – 355°F / 160°C – 180°C | 15 – 30 | Medium |
| Beanies | Wool, Cotton, Acrylic | 320°F – 355°F / 160°C – 180°C | 15 – 30 | Medium |
| Bucket | Cotton, Polyester, Nylon | 284°F – 330°F / 140°C – 165°C | 15 – 30 | Medium |
| Beret | Fabric, Wool, Leather | 320°F – 355°F / 160°C – 180°C | 15 – 30 | Medium |
| Cowboy | Leather, Fabric, Straw | 338°F – 375°F / 170°C – 190°C | 15 – 30 | Medium – High |
| Trapper | Leather, Wool, Cotton, Fur | 320°F – 355°F / 160°C – 180°C | 15 – 30 | Medium |
| Knit | Wool, Cotton, Acrylic | 320°F – 355°F / 160°C – 180°C | 15 – 30 | Medium |
| Fedora | Fur, Silk, Straw, Fabric | 338°F – 375°F / 170°C – 190°C | 15 – 30 | Medium – High |
| Panama | Toquilla Straw | 284°F – 330°F / 140°C – 165°C | 15 – 30 | Medium |
2. Cricut Hat Press:
| Hat Type | Material |
Press Temperature (°F/°C) |
Press Time (seconds) |
Pressure |
|---|---|---|---|---|
| Baseball/Snapback | Cotton, Polyester, Twill | 300°F – 330°F / 149°C – 166°C | 15 – 25 | Light |
| Beanies | Wool, Cotton, Acrylic | 300°F – 330°F / 149°C – 166°C | 15 – 25 | Light |
| Bucket | Cotton, Polyester, Nylon | 280°F – 320°F / 137°C – 160°C | 15 – 25 | Light |
| Beret | Fabric, Wool, Leather | 300°F – 330°F / 149°C – 166°C | 15 – 25 | Light |
| Cowboy | Leather, Fabric, Straw | 320°F – 355°F / 160°C – 180°C | 15 – 25 | Light |
| Trapper | Leather, Wool, Cotton, Fur | 300°F – 330°F / 149°C – 166°C | 15 – 25 | Light |
| Knit | Wool, Cotton, Acrylic | 300°F – 330°F / 149°C – 166°C | 15 – 25 | Light |
| Fedora | Fur, Silk, Straw, Fabric | 320°F – 355°F / 160°C – 180°C | 15 – 25 | Light |
| Panama | Toquilla Straw | 280°F – 320°F / 137°C – 160°C | 15 – 25 | Light |
Understanding Heat Pressing a Hat
Heat pressing a hat requires an understanding of the various steps to ensure successful outcomes.
Temperature and time considerations
Applying designs to hats through heat pressing and HTV (Heat Transfer Vinyl) calls for strict adherence to distinct temperature, time, and pressure settings. The ideal temperature spectrum typically ranges from 320°F to 375°F (160°C to 191°C), with a pressing duration set between 15 to 30 seconds at a medium pressure level. These parameters are key to ensuring the robust attachment of designs, all while averting any damage to the materials. For more detailed information on the appropriate temperature and time settings for Heat Transfer Vinyl, you can refer to our guide on Heat Transfer Vinyl Temperature and Time.
Nevertheless, contingent on the fabric type and the style of the hat, fine-tuning the settings is frequently necessary. For instance, hats made of Cotton, Polyester, and Twill necessitate temperatures between 320°F – 355°F (160°C – 180°C), while others, such as Straw hats, demand lower temperatures in the vicinity of 284°F – 330°F (140°C – 165°C). Utilizing specialized equipment like the Cricut Hat Press machine, explicitly crafted for hats, is paramount for securing impeccable outcomes.
It is imperative to consult specific guidelines when working with varied materials or inks and executing a trial run is advisable to ascertain optimal results and sidestep any potential damage or inadequate adhesion. By doing so, you uphold the integrity of your creations and guarantee lasting, vibrant designs on your chosen hats.
What temperature do you heat press polyester hats?
When heat pressing polyester hats, typically set the press between 320 degrees Fahrenheit (160 degrees Celsius) and press for about 20 seconds with medium to high pressure. Always use a cover sheet like parchment paper to avoid damage, and test a small, inconspicuous area first to ensure the best results. Follow the specific instructions provided by the manufacturers of the hat, heat transfer material, and heat press machine, adjusting as necessary for different fabric types and thicknesses.
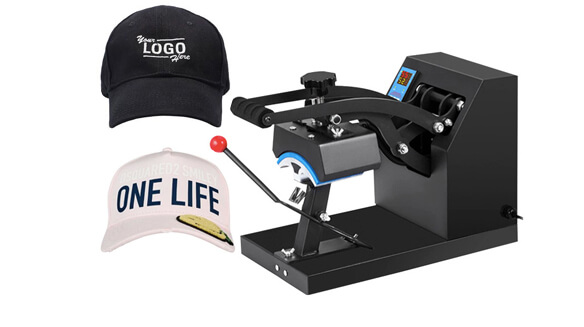
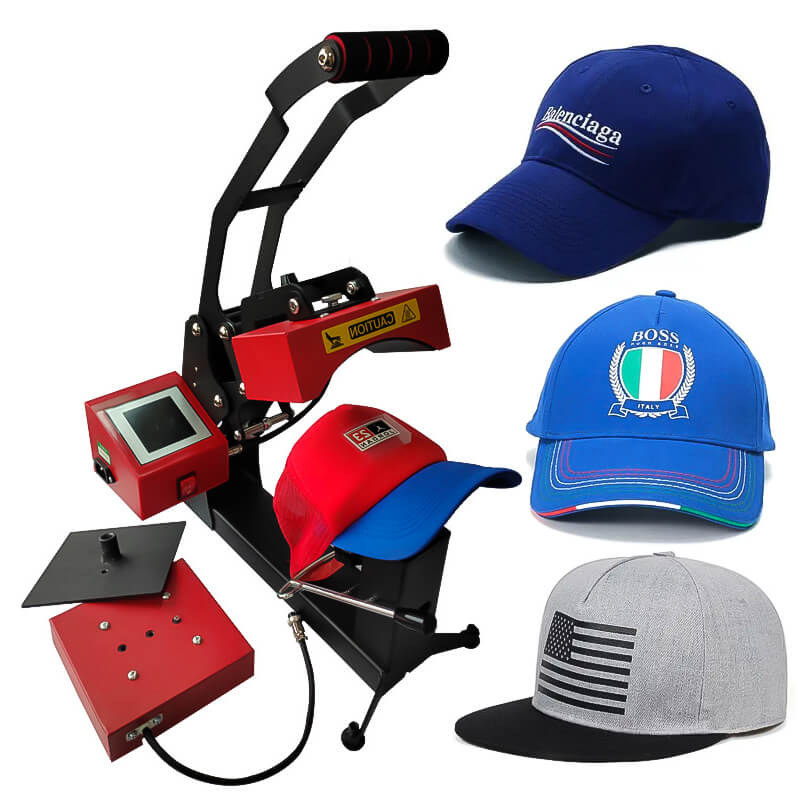
Different methods for heat pressing a hat
Clamshell Cap Press: The Clamshell Cap Press reigns as the quintessential tool specifically for hat pressing. Its compact nature and simplicity make it a powerhouse for smaller productions. In this machine, hats find their place on the lower platen, with the unique clamshell design enabling the upper platen to descend, applying the necessary heat and pressure to imprint the design.
Swing-Away Cap Press: Appreciated for its meticulous precision, the Swing-Away model is a top pick. The ability to swing the top platen away provides users with unrestricted access to the workspace, thereby ensuring the design lands just right on the hat.
Specialized Cap Press Machines: Exclusively designed for hats, these specialized machines boast curved platens that align with the hat’s shape perfectly. They emerge as the go-to for imprinting high-caliber designs on hats, guaranteeing even distribution of pressure and heat on the curved form. If you are looking to explore more about these advanced machines and make a purchase, visit our website at HeatPressNation.
Cricut Hat Press: The Cricut Hat Press, renowned for its compact and handy design, is a favored option for hobbyists and small-scale businesses. Tailored to accommodate a variety of hat shapes, it guarantees precision in design placement. With adjustable temperature and time settings to match different design needs and hat materials, it offers versatile application. Its acclaim stems from its ability to achieve professional-level results, making it a prevalent choice for individualized hat customization.
Step-by-step guide for heat pressing a hat
How do you press a hat with a heat press? Here is a detailed guide
Step 1: Select and Create Your Design
Use design software to create your design. Mirror the image if you’re using HTV (Heat Transfer Vinyl) or doing sublimation printing.
Step 2: Choose the Right Hat
Select a hat suitable for heat pressing. Consider the material of the hat; cotton and polyester are usually good choices.
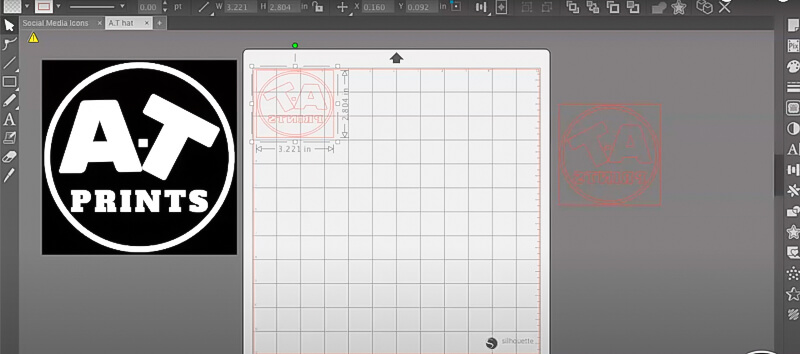
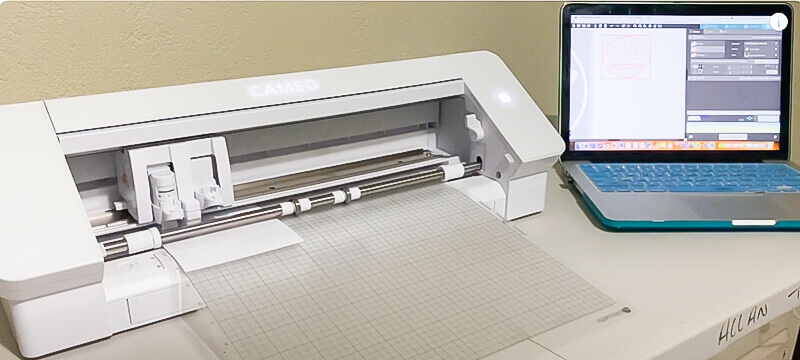
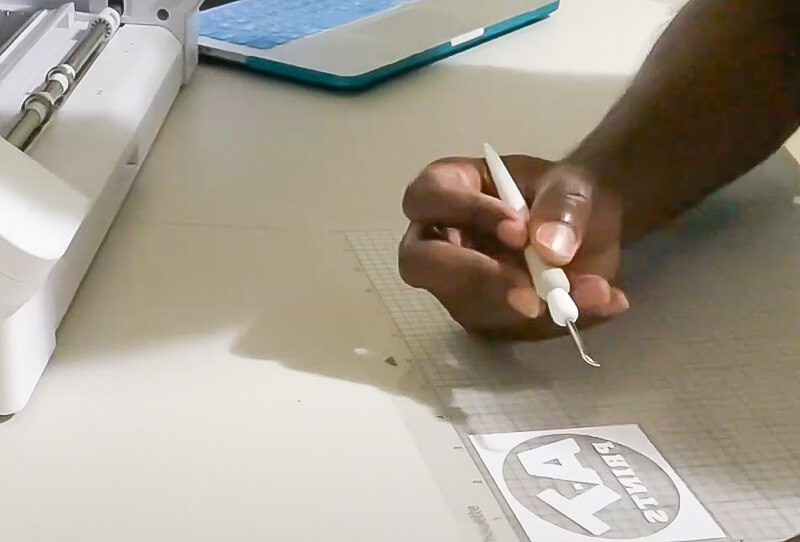
Step 3: Cut and Weed Your Design (If Using HTV)
Cut the design using a vinyl cutter. Weed out the excess material around the design.
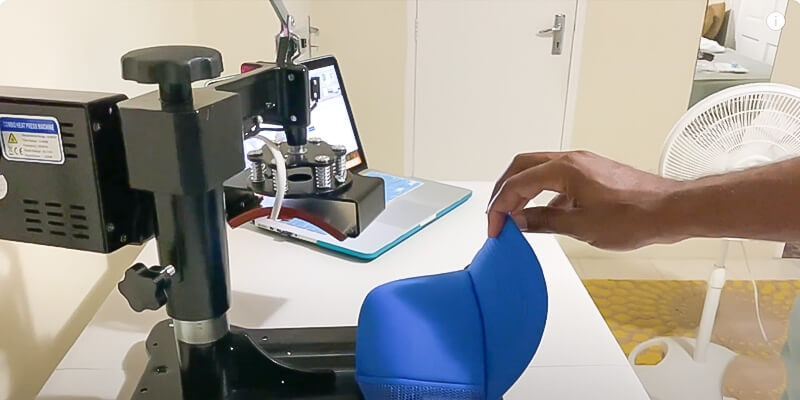
Step 4: Preheat the Hat Press
Power on the hat press. Adjust to the recommended temperature and time according to the heat transfer material and the hat fabric.
Step 5: Position the Hat
Place the hat on the press’s lower platen. Secure it, ensuring it’s smooth and there are no creases.
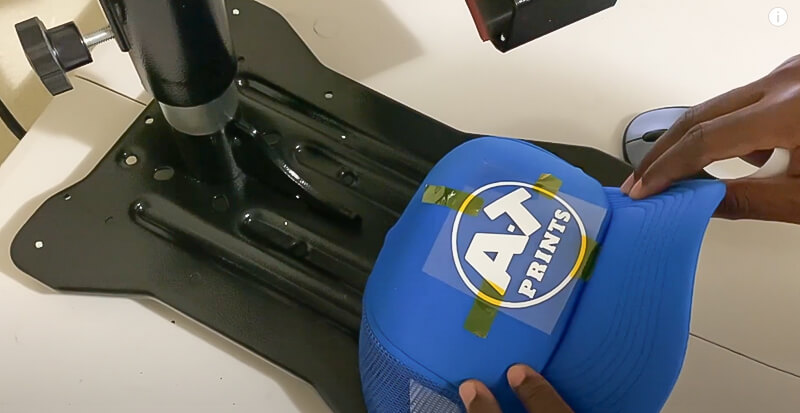
Step 6: Position Your Design
Place the design in the desired location on the hat. If you’re using HTV, place the design with the carrier sheet side up.
Step 7: Press the Hat
Lower the upper plate to press the hat. Start the timer once the platens are securely closed.
Step 8: Remove the Hat
Once the timer goes off, lift the upper plate. Carefully remove the hat from the press.
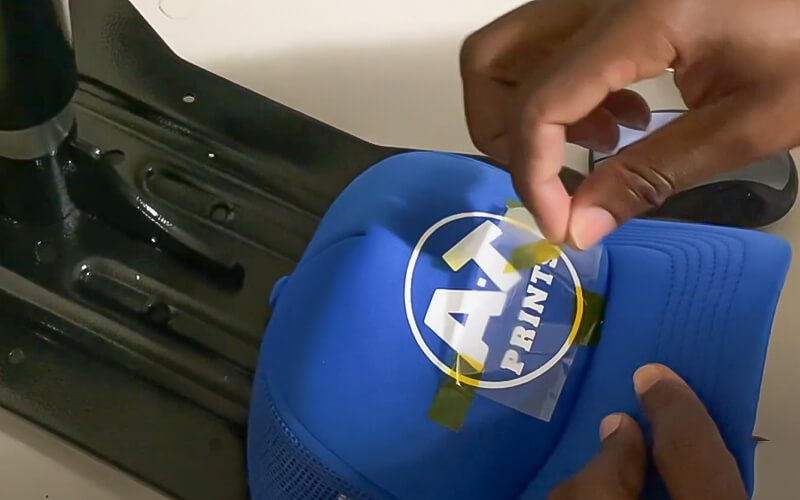
Step 9: Peel the Carrier Sheet (If Using HTV)
If you’re using a cold peel HTV, wait for the hat to cool down before peeling off the carrier sheet. If you’re using a hot peel HTV, peel off the carrier sheet while the hat is still warm.
Step 10: Inspect the Design
Examine the pressed design to ensure it has adhered well to the hat. Check for any irregularities or imperfections.
Additional Tips
- Always refer to the instructions provided by the manufacturers of the hat press, heat transfer material, and the hat for the best results.
- Conduct a test press on a small, inconspicuous area or a scrap piece of fabric before pressing the actual hat to avoid any mistakes.
- Ensure that the pressure applied is even, and the temperature is accurate to avoid damaging the hat or the design.
Tips for Successful Heat Pressing
For optimal outcomes in heat pressing a hat, proper preparation of the hat is crucial. Start by meticulously trimming all loose threads and ensuring the hat’s surface is free from any residue.
Furthermore, secure your design to the cap firmly. Utilizing a strong adhesive, like Heat’n Bond Ultrahold, can significantly enhance the likelihood of achieving successful results. This step is vital as it helps prevent the design from shifting during the pressing process, ensuring a neat and professional finish.
In this process, precision and attention to detail are key. Every step, from preparation to pressing, contributes to the final result. By following these guidelines, you’re laying down the foundation for a successfully heat-pressed hat, which is both visually appealing and durable.
Preparing the hat for heat pressing
Proper attachment of the design is crucial when heat pressing a hat. For successful results, it’s essential to prepare the hat’s surface meticulously and position the design material accurately. Begin by selecting an appropriate transferable material, such as vinyl, fabric, or patches. Each material requires a different approach, so identifying the right one is a vital step. For instance, sublimation is a popular method for certain materials, leading many to wonder: Can You Sublimate on Acrylic Beanies.
Once you have chosen the material, the next step is attaching it using adhesive backing. This ensures that your custom designs adhere securely and properly to the fabric. Positioning the design correctly is equally important, as it guarantees the end result is both visually appealing and long-lasting.
Following these steps diligently lays the foundation for a smooth application process and increases the likelihood of achieving a professional and durable finish on your custom hat. It’s all about precision and attention to detail, which ultimately contribute to the success of the heat-pressing project.
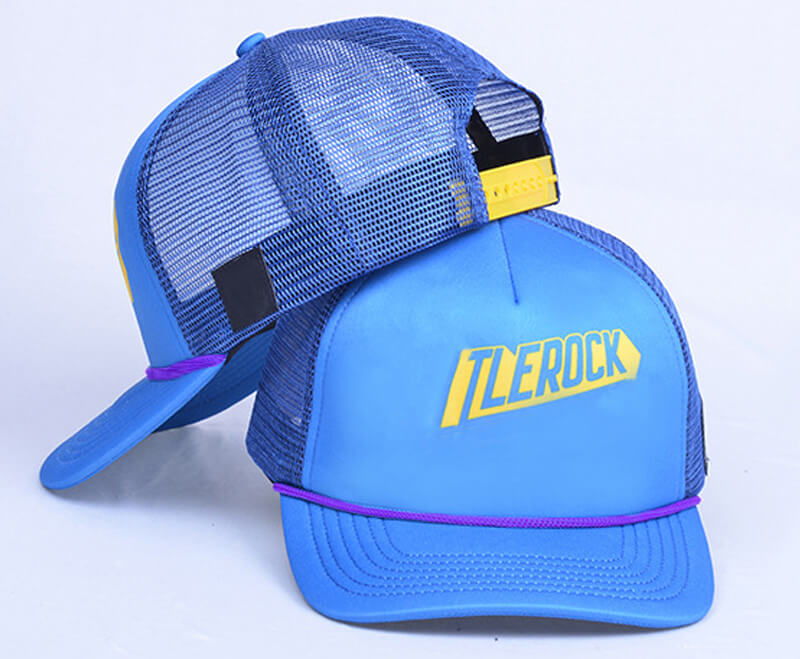
How do you heat press a hat with vinyl?
To heat press a hat with vinyl, select a suitable hat and create a fitting design. Cut the mirrored design on heat transfer vinyl (HTV) and weed out the excess pieces. Preheat your hat press to the specified temperature, usually between 270°F and 330°F. Position the weeded design on the preheated hat and cover it with a Teflon sheet or parchment paper. Press the design for the recommended time, typically 15 to 20 seconds with medium to high pressure. After pressing, peel off the carrier sheet, considering whether the vinyl is a hot or cold peel, and inspect the hat to ensure the vinyl is properly adhered to without bubbles or wrinkles. If you are interested in learning how to apply Vinyl to a hat using an iron, please check out our detailed tutorial on How to Put Vinyl on a Hat with an Iron.
Choosing the right heat transfer vinyl
Choosing the appropriate heat transfer vinyl (HTV) is paramount when heat pressing hats, as it holds equal importance to the temperature used. HTV is available in a spectrum of colors and finishes, such as shiny, sparkly, and matte. Learn more about the different types of Heat Transfer Vinyl suitable for hats at Heat Transfer Vinyl On Hats.
For shiny and sparkly HTV, heating between 315°F for 20 seconds using medium pressure is essential for vibrant color representation. Conversely, regular matte vinyl demands less time and a lower temperature compared to its shiny counterparts to yield optimal results.
If opting for HTVRONT brand HTV vinyl, a temperature of 315°F for 20 seconds under strong pressure is advocated to achieve a remarkable finish. To optimize outcomes, it is recommended to pair it with a Cricut Hat Press. This device boasts customizable heat settings tailored to different materials and features three preset temperatures, maxing out at 400°F (205°C). This versatility allows the accommodation of various vinyl brands, ensuring adaptability for diverse project requirements.
Remember, the combination of the right vinyl type and accurate temperature settings is integral in realizing a high-quality, enduring result in heat pressing endeavors. By paying close attention to these details, you pave the way for a successfully completed project with impressive visual appeal.
Best practices for achieving desired results
- Preheat the Hat: Begin by preheating the hat. This step is vital as it eliminates moisture and enhances the adhesion of the vinyl to the garment fabric, setting the stage for a smoother application.
- Select Durable Vinyl: Opt for a highly durable heat transfer vinyl. This choice ensures the longevity of your design and the vibrancy of the colors, making your creation stand out.
- Secure the Design: Attach the design firmly using masking tape or a low-tack adhesive sheet. This precaution prevents any movement during pressing, ensuring precision and accuracy in the transfer.
- Press at the Right Temperature: Press hats at 320-340°F, although the temperature may need adjustment depending on the specific transfer material chosen. Apply moderate pressure for 10–20 seconds, finding a balance to avoid damaging the material while ensuring effective transfer.
- Peel Off Backing Film Carefully: Once pressing is complete, carefully peel off the backing film while it’s still hot/warm. This method helps avoid excessive stretching or wrinkling of designs, preserving the quality of the print.
- Allow Cool Down Time: Finally, allow sufficient time for the ink application to cool down before using the hat. This patience ensures the design is set properly and maintains its quality and vibrancy.
Troubleshooting Common Issues
When heat pressing a hat, it is important to be aware of issues such as wrinkles or creases in the design, poor adhesion of the material onto the garment, and uneven heat distribution.
Wrinkles or creases in the design
When heat pressing a hat, wrinkles or creases in the design are common issues that might emerge. These imperfections can arise if incorrect temperature and time settings are utilized during the process. The amount of pressure applied also plays a critical role — too much can lead to wrinkling, while too little can result in areas of dull color that don’t adhere properly.
- Preheating the Fabric: Preheating your fabric can significantly mitigate the risk of wrinkles forming. This step eradicates excess moisture, which can contribute to the appearance of wrinkles, ensuring a smoother application of the design.
- Using HTV on Cotton Fabrics: When applying heat transfer vinyl (HTV) to cotton fabrics, wrinkles might develop post-washing. This happens as the moisture interacts with the vinyl during the adhesion process. Therefore, being cautious about the moisture levels in the fabric can help prevent this issue.
- Pressing Lettering Onto Hats: Achieving the right balance of pressure is vital, especially when pressing lettering onto hats. Excessive pressure can cause the design to wrinkle, while insufficient pressure might leave patches of color that won’t adhere properly.
- Heat Pressing Cotton T-Shirts: When using traditional iron-on transfer paper, such as sublimation transfer paper, on cotton t-shirts, dry spots might appear, signaling inadequate pressure or heat during application. These spots lack ink and indicate that the design wasn’t pressed thoroughly, leading to potential adhesion issues and wrinkles.
Design not adhering properly
It is paramount during the hat heat press procedure to verify that the design adheres suitably to the material. A prevalent issue that might surface is the design’s inability to stick adequately. This inadequacy can often be traced back to the insufficient pressure or temperature of the heat press machine. Moreover, a misaligned attachment of the design initially can exacerbate this dilemma.
In order to mitigate these challenges, meticulous attention and adjustments are requisite when calibrating your equipment for heat-pressing hats. Employing appropriate settings and confirming accurate alignment can significantly curtail the risk of design misadherence, fostering a seamless and efficient heat-pressing process.
Uneven heat distribution
Uneven heat distribution within a heat press can indeed trigger a multitude of issues, often culminating in inconsistent outcomes. Failing to maintain precise temperature control over the platen might leave you grappling with scorch marks or premature peeling from the substrate. For optimal results, it’s critical that every part of the platen reaches a uniform temperature. Any variance exceeding 10 degrees between sections necessitates immediate attention and rectification.
Moreover, an uneven heat spread can result in the design being peeled off prematurely. This is often attributable to the temperature being excessively high or the pressing time falling short of what’s required for the design to adhere securely to the material surface.
To steer clear of these pitfalls, it’s advisable to meticulously monitor and adjust the heat settings and pressing time. Regularly check the temperature across different sections of the platen to ensure uniformity and make the necessary adjustments promptly. This vigilance and precision in managing the heat press parameters will significantly uplift the quality of your finished products, paving the way for seamless and effective heat pressing endeavors.
Conclusion
In conclusion, achieving optimal results in heat-pressing hats is a meticulous process that requires a comprehensive understanding of various factors, including the type of hat, fabric material, press temperature, time, and pressure. The specialized Hat Press Machines and Cricut Hat Press provide tailored settings to accommodate different hats and fabrics, ensuring precision and versatility in design placement.
A step-by-step guide and adherence to best practices, such as preheating the hat, selecting durable vinyl, securing the design, and pressing at the right temperature, are crucial for successful outcomes. Choosing the right heat transfer vinyl, preparing the hat meticulously, and addressing common issues like wrinkles or design not adhering properly, are vital aspects of this craft.
Equipped with the knowledge of different methods for heat pressing, including Clamshell Cap Press, Swing-Away Cap Press, Specialized Cap Press Machines, and Cricut Hat Press, users can navigate through the process with confidence and achieve professional-level results. By diligently following the guidelines, troubleshooting common issues, and applying additional tips, individuals and small-scale businesses alike can ensure the integrity, vibrancy, and durability of their customized hat designs.
FAQs about Heat Pressing Hats
1. How do you iron on Cricut vinyl to a hat?
To apply Cricut vinyl to a hat, position the vinyl design on the hat, cover it with a heat-resistant sheet, and apply heat using an iron or a heat press. Ensure the temperature and time settings are suitable for the material of the hat and vinyl type. Carefully peel off the carrier sheet once cooled.
2. Can I use a mini heat press for hats?
Yes, you can use a mini heat press for hats. However, ensure that the press can accommodate the hat’s shape and that you adjust the temperature and time settings according to the materials used. Applying even pressure is crucial for a successful transfer.
3. What temperature do you heat press 50% cotton 50% polyester?
For a blend of 50% cotton and 50% polyester, a temperature range of 270°F to 320°F (132°C to 160°C) is typically recommended. However, always refer to the heat transfer vinyl (HTV) manufacturer’s guidelines, as different vinyls may have varying temperature settings.
4. Is 100% polyester best for sublimation?
Yes, 100% polyester is ideal for sublimation as it holds the ink best, resulting in vibrant and long-lasting prints. Sublimation on blends with lower polyester content is possible but may result in less vibrant and faded prints over time.