Step-by-Step Guide: Applying Heat Transfer Vinyl on Hats
If you’ve found yourself yearning to adorn your hats with your preferred designs but are feeling a bit lost on commencing, don’t fret! I’ve been in your shoes, embarking on this imaginative expedition, only to unearth that heat transfer vinyl (HTV) is our ultimate companion for personalizing hats! This post is poised to illuminate your path in the process of integrating HTV to hats, guiding you from choosing the ideal cap to demonstrating how to manifest your unique design ideas.
Trust me, the journey is simpler than it might seem—so, shall we dive in?
Can you put heat transfer vinyl on hats?
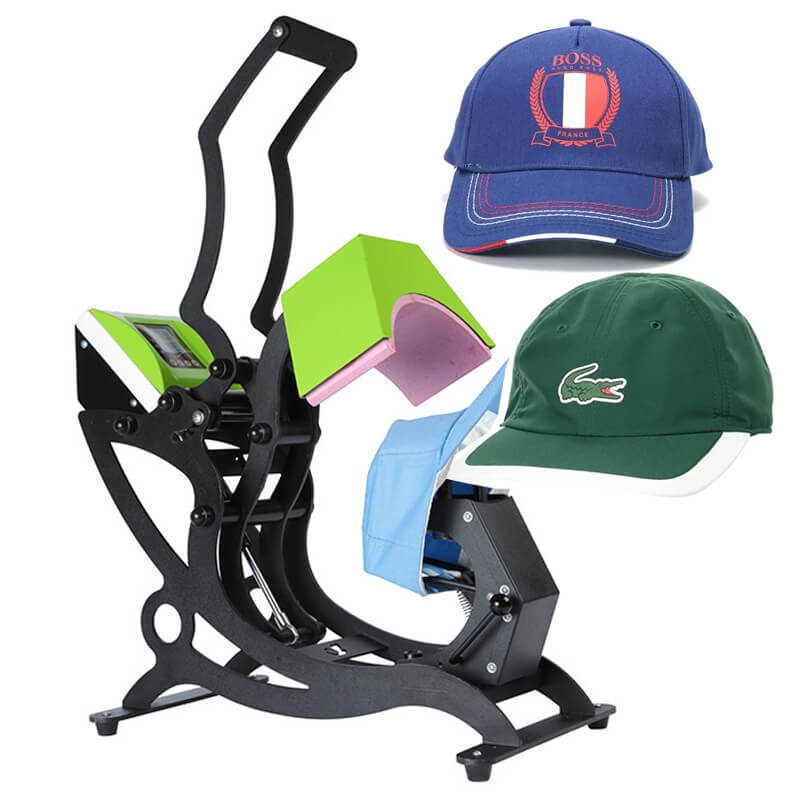
Yes, you can apply heat transfer vinyl (HTV) to hats, but it can be a bit tricky due to the curved surface of the hat. Typically, a heat press machine designed specifically on hats called a cap press, is used for this purpose. The cap press has a curved surface that aligns with the shape of the hat, allowing for more even pressure and heat distribution.
How to Add Heat Transfer Vinyl to Hats
To add heat transfer vinyl to hats, start by choosing the right hat that is suitable for vinyl application. Then, prepare your design and cut and weed the vinyl before applying it to the hat using a heat press, EasyPress, or mini iron.
How do you heat transfer vinyl to a hat?
To adeptly affix Heat Transfer Vinyl (HTV) onto a hat, commence by cleansing and pre-washing the hat, and ready your HTV design through crafting, cutting, and weeding. Situate the hat correctly, utilizing a cap press or a solid object within the hat to formulate a smooth surface if iron is your tool of choice. Accurately position the design, ensuring it’s straight and centered, and safeguard it with a Teflon sheet or parchment paper.
Administer heat, heeding the vinyl manufacturer’s directives concerning temperature and duration. For specific guidelines on setting the correct temperature and time for various types of heat transfer vinyl, you can refer to our comprehensive guide on Heat Transfer Vinyl Temperature and Time.
Post application, permit the hat to cool prior to peeling off the carrier sheet, examining, and reapplying heat as necessary to fortify the design’s edges. It’s prudent to conduct a trial on a cost-effective hat and to favor materials like cotton blends that are resilient to the heat applied.
Step-by-Step Guide to Applying Heat Transfer Vinyl on Hats: Create Your Customized Cap!
Step 1: Choosing the right hat
Selecting a suitable hat for Heat Transfer Vinyl application requires focusing on material and texture. Preferred materials include cotton blends due to their heat resistance, while you should avoid materials like nylon that can deform. A smooth surface promotes reliable vinyl adherence, while textured surfaces might pose challenges.
It’s also necessary to consider the hat’s construction, as features like seams and panels can complicate the application. Light-colored hats work well with vibrant designs, whereas dark hats match better with light or reflective vinyl.
Always consider conducting a test run, especially when working with unfamiliar materials or textures. Adhering to the manufacturer’s instructions on heat settings is crucial, ensuring optimal results and preventing potential damage to both the hat and the design.
Step 2: Gather Your Supplies
- Heat Transfer Vinyl (HTV): Choose the color and type of HTV.
- Cutting Machine: For designing and cutting the vinyl.
- Heat Press Machine: For applying the HTV to the hat.
- Weeder & Scraper: For weeding and removing excess vinyl.
Step 3: Design Your Image
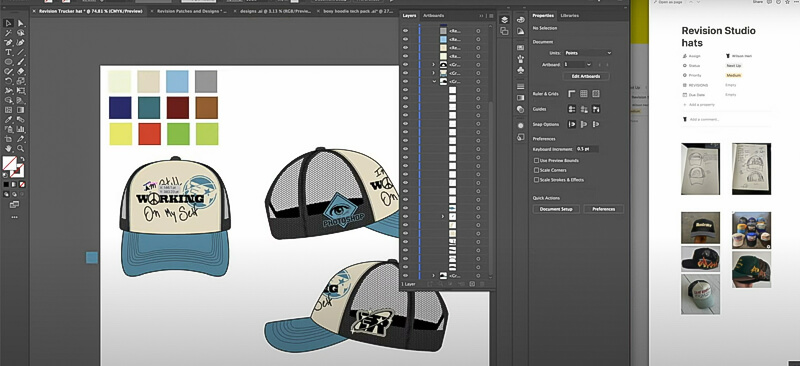
- Create Your Design: Start by using graphic design software such as Adobe Illustrator or CorelDRAW. These platforms allow you to create intricate and detailed designs, ensuring a high-quality outcome. Consider the hat’s color and texture when choosing colors for your design to ensure visibility and vibrancy.
- Dimension Consideration: Keep in mind the available space on the hat. A typical design area on a hat’s front panel is around 2.25 inches high by 3.5 inches wide. Ensure that your design fits within these dimensions to avoid any overlapping or cutting off.
- Mirror the Image: Before proceeding to cut the HTV, remember to mirror your image. This step is crucial as it reverses the design, ensuring that it appears correctly on the hat when transferred.
- Finalize the Design: Review your design for any errors or adjustments. Check the alignment, spelling, and overall look. Once satisfied, save the design in a suitable format compatible with your cutting machine, typically in SVG, PNG, or JPEG.
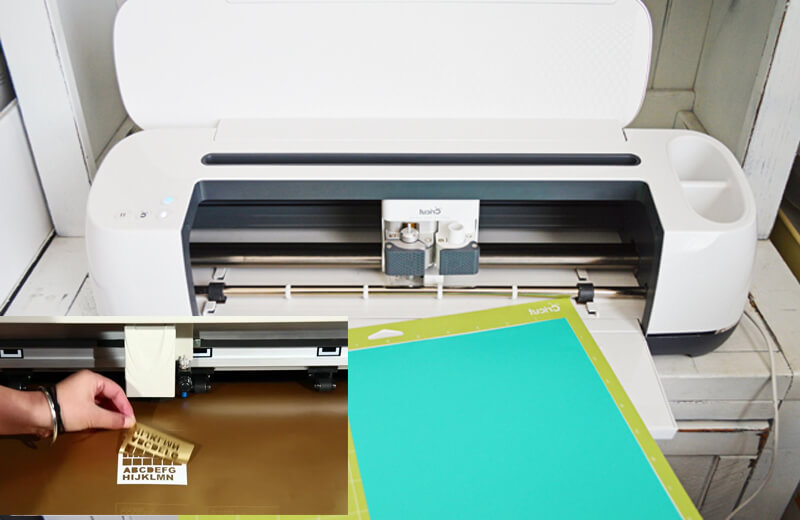
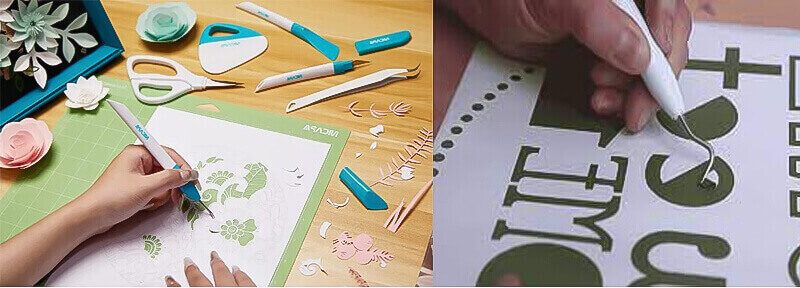
Step 4: Cut and Weed HTV
- Configure Cutting Settings: Before initiating the cut, adjust your cutting machine settings according to the HTV type and thickness. Refer to the manufacturer’s guidelines for optimal cut settings. Ensure the blade is sharp to avoid incomplete cuts.
- Loading the Vinyl: Place the HTV sheet on the cutting mat with the shiny side facing down. Ensure it is well-aligned and secure on the mat to prevent any movements during the cutting process.
- Cutting the Design: Upload your finalized design to the cutting machine software, and ensure it is correctly mirrored. Once uploaded, initiate the cutting process. Monitor the cutting to make sure the design is accurately cut out without any issues.
- Weeding the Excess: After cutting, gently remove the vinyl sheet from the cutting mat. Use a weeder tool to carefully peel away the excess vinyl around your design, paying close attention to small details and intricate patterns. Take your time in this step to avoid accidentally removing parts of the actual design.
- Trimming the Carrier Sheet: Once the wedding is complete, use a pair of scissors to trim the clear carrier sheet around the design, leaving a small border. This will make positioning the design on the hat easier and more accurate.
Step 5: Preheat the Hat
- Position the Hat on the Heat Press: Securely place your hat on the Heat Press, ensuring that the area where the design will be applied is flat and smooth. Make use of a heat printing pillow or a mouse pad inside the hat to elevate the printing surface and ensure even pressure.
- Check the Temperature and Time: Before preheating, it’s essential to know What Temperature Do You Heat Press A Hat by checking the settings on your heat press machine. The typical preheating temperature is around 285°F (140°C). Set the timer for about 5 seconds.
- Preheating the Hat: Close the heat press and preheat the hat. This step is crucial as it helps to remove any moisture and wrinkles from the fabric, ensuring a smoother application of the HTV. The preheating process also warms the fabric, allowing for better adhesion of the vinyl.
- Examine the Hat: Once preheating is completed, open the heat press and carefully examine the hat. Ensure that there are no wrinkles or moisture in the application area. If you find any imperfections, reposition the hat and preheat it again.
- Cooling Down: Allow the hat to cool down slightly before placing your weeded design. A slightly warm fabric will help in better positioning and sticking of the vinyl design before the final press.
Step 5: Position the Design
- Check Alignment: Before adhering, double-check the alignment of your design on the hat. Ensure it’s straight, centered, and placed where you want the image to be transferred. Use the seams and panels of the hat as guides to align your design accurately.
- Tape the Design: If your design is intricate or you’re working with a curved surface, secure it in place using heat-resistant tape. This helps to prevent the design from shifting during the heat application process and ensures the final image is transferred accurately.
- Recheck Placement: Once taped, re-examine the placement of the design. Adjust the position if necessary, ensuring that it’s exactly where you want it to appear on the hat. Be meticulous in this step, as repositioning the design after heat application can be difficult.
- Ensure Smooth Surface: Smooth out any wrinkles or folds in the fabric around the design area. A smooth, flat surface is crucial for the even transfer of heat and pressure, which will affect the quality of the final result.
- Final Adjustment: Make any final adjustments to the design’s position, and ensure it is taut and secure. Confirm the hat is still correctly placed on the heat press, and ready for the application of heat.
Step 7: Apply Heat
- Adjust Heat Press Settings: Reference the manufacturer’s instructions for the HTV you are using to set the correct temperature on your heat press machine. A general starting point is around 310°F (155°C), but this can vary based on the specific vinyl and hat material. Set the timer according to the recommended duration, usually between 10 to 15 seconds.
- Ensure Even Pressure: Adjust the pressure settings on your heat-press to medium. This setting is crucial to guarantee the vinyl adheres well to the hat fabric. A pressure that’s too high may damage the hat and the vinyl, while too low of pressure may result in peeling.
- Position the Design: Before applying heat, double-check the placement of your weeded design on the hat to ensure it’s centered and straight. Adjust if necessary.
- Cover the Design: Place a parchment paper or a Teflon sheet over the design to protect it during the heat application.
- Apply Heat: Lower the top plate of the heat press to apply heat to the design. Keep the heat press closed for the duration set on the timer. Monitor the process to avoid any overheating, which could potentially damage both the design and the hat.
- Monitor Pressure: During the heat application, ensure the pressure is even across the design. The use of a heat printing pillow or mouse pad inside the hat can aid in maintaining consistent pressure.
- Lifting the Heat Press: Once the timer goes off, carefully lift the heat press to avoid moving the hat or the design. Check for any immediate issues, such as bubbling or shifting.
Step 8: Peel Off the Carrier Sheet
- Allow to Cool: After the heat application, do not rush to peel off the carrier sheet immediately. Allow the hat and design to cool down for a few minutes. This cooling period is essential as it lets the adhesive set and bond firmly to the fabric. The duration of cooling can depend on the type of HTV used, so refer to the manufacturer’s guidelines.
- Test Peel: Once cooled, carefully lift a corner of the carrier sheet to test if the vinyl is sticking to the hat. If it lifts easily, the vinyl has adhered correctly. If you notice any vinyl lifting or not sticking properly, reapply the heat for an additional 5 seconds.
- Peel Carefully: Once you are sure that the vinyl is properly adhered, slowly and carefully peel off the carrier sheet. Ensure to peel it back over itself at a 180-degree angle, rather than straight up, to avoid lifting the design.
- Inspect the Design: After the carrier sheet is completely removed, inspect the design thoroughly. Check for any areas that may not have adhered properly, any bubbles, or inconsistencies in the application. If any issues are found, cover the design with a Teflon sheet and repress for additional time.
Step 9: Final Check
- Inspect the Adhesion: Examine the entire design carefully, ensuring that the Heat Transfer Vinyl has adhered to the hat uniformly. Pay special attention to the edges and intricate details of the design, as these are the areas most prone to peeling or lifting.
- Address Imperfections: If you identify any imperfections or areas where the vinyl hasn’t adhered properly, cover the affected area with a Teflon sheet or parchment paper and reapply heat for an additional 5-10 seconds. Recheck the area to confirm the issue has been resolved.
- Assess the Overall Look: Step back and review the overall appearance of the hat. Check if the design is centered, straight, and aligned according to your initial vision. Ensure that there are no visible wrinkles, bubbles, or distortions in the design.
- Feel the Texture: Gently run your fingers over the design to feel the texture. The vinyl should feel smooth and well-integrated into the fabric of the hat. If any areas feel rough or raised, it may indicate an adhesion problem that needs to be addressed.
- Test the Flexibility: Gently stretch the fabric of the hat, observing how the vinyl moves with it. A properly applied vinyl should flex and stretch with the fabric without lifting or cracking.
- Final Adjustments and Fixes: Make any final adjustments or fixes as necessary. If you are satisfied with the result, your custom-designed hat is now complete and ready to be worn or sold!
Tips:
- Verify the compatibility of your hat with the chosen vinyl type.
- A hat press attachment or a heat printing pillow is beneficial for the hat’s curved surface if using a heat press.
- Exercise caution with temperature to avoid damaging the hat and vinyl.
- Post-application, refrain from washing the hat for a minimum of 24 hours, allowing the adhesive ample setting time.
Choosing the correct method for applying designs to hats is crucial for the best results. While this guide focuses on using heat transfer vinyl, another popular method is screen printing. To understand the differences and decide which might be better for your project, check out our comparison on Screen Printing Vs Heat Press
Will iron-on vinyl stick to a hat?
Iron-on vinyl, also known as heat transfer vinyl (HTV), is indeed versatile enough to be applied to hats. However, it’s crucial to take the hat’s material into consideration. Fabrics such as cotton and polyester are typically favorable, whereas materials susceptible to melting or deforming under heat are best avoided. If you’re exploring options, you might be wondering, can you sublimate on acrylic beanies? This is another interesting aspect to consider when working with different hat materials.
Navigating the curved surface of hats can be tricky. Utilizing a hat press or inserting a heat-resistant object inside the hat to establish a flat surface can mitigate this challenge. Adherence to the correct temperature, pressure, and application time, as outlined by the vinyl manufacturer’s guidelines, is paramount to avoid any damage to the hat or the design.
Opting for smaller designs can ease the application process, and positioning them away from seams and stitches is advisable. Performing a test run on scrap material or a less visible area of the hat can preemptively address any issues.
After successfully applying the vinyl, it’s recommended to abstain from washing the hat for at least 24 hours to allow the adhesive to set properly. When washing becomes necessary, opting for a mild detergent and allowing the hat to air dry will help maintain the integrity of the design.
Using a heat press, EasyPress, or mini iron
For those who prefer using an iron, learning How to Put Vinyl on a Hat with an Iron is essential as it each method has its own advantages and disadvantages..
Heat Press:
Advantages:
- Uniform Application: Ensures even heat and pressure, which are crucial for a durable vinyl application.
- Precision in Temperature: Features accurate temperature settings, optimizing heat application.
- Efficiency & Consistency: The go-to option for large batches, thanks to its consistent results and speedy operation.
- Specialized Attachments: Some models are equipped with attachments for diverse items like hats and mugs.
Disadvantages:
- Size & Space: Its bulkiness necessitates dedicated storage space.
- Cost Consideration: Pricier compared to alternative methods.
- Learning Curve: Initial usage might require a bit of a learning curve for optimal results.
EasyPress:
Advantages:
- Portability & Storage: Compact design makes it easily portable and storable.
- Accurate Temperature Control: Allows for precision in setting the temperature.
- Versatility: Accommodates a wide array of projects, even those with uneven surfaces.
- User-Friendly: Known for its ease of use and minimal learning curve.
Disadvantages:
- Manual Pressure: The application requires manual pressure, potentially leading to less consistency than a heat press.
- Size Limitations: Might not be the most efficient choice for larger projects or batches.
Mini Iron:
Advantages:
- Compact & Convenient: Its extremely small design makes storage a breeze.
- Precision for Small Designs: The small tip enables precise application on intricate designs.
- Affordability: Tends to be more budget-friendly compared to a heat press or EasyPress.
- Simplicity: Particularly user-friendly for smaller projects.
Disadvantages:
- Temperature Control: Might not offer the most precise temperature settings.
- Pressure Consistency: Like EasyPress, it requires manual pressure, which can be less consistent.
- Efficiency for Large Batches: Its compact size makes it less ideal for larger projects or batches.
Tips for Successful Heat Transfer Vinyl Application
To ensure proper adhesion of the heat transfer vinyl, make sure to thoroughly clean and prep the hat surface before applying.
Ensuring proper adhesion
To secure enduring adhesion of heat transfer vinyl on hats, selecting a vinyl specifically crafted for fabric adhesion is vital. Resorting to adhesive craft vinyl will fall short as it won’t establish a bond with the fabric.
For hat applications, opting for thicker variants of heat transfer vinyl is advisable. They stand out for their superior durability and adherence, contributing to the longevity of the design. Equally important is the application of adequate pressure and temperature, particularly when utilizing a heat press or analogous tools, to ensure the vinyl melds seamlessly onto the hat.
This meticulous approach guarantees that the vinyl maintains its position, resisting wear and washing effectively. In essence, the key to long-lasting results lies in choosing the appropriate vinyl and executing its application with precision and care!
For more information on the durability of heat transfer vinyl, you can refer to our article Does Heat Transfer Vinyl Last.
Why is my heat transfer vinyl not sticking to my hat?
Failure of heat transfer vinyl (HTV) to adhere to a hat can stem from various factors spanning materials, equipment, application process, and environmental conditions. Addressing each factor appropriately can significantly enhance the chances of successful HTV application:
Material Compatibility:
Challenge: HTV may find it challenging to bond with specific fabrics like nylon or materials treated for water repellency.
Solution: Opt for materials known for compatibility and select specialized vinyl designed for trickier fabrics. Ensure the surfaces are clean, dry, and devoid of oils. Adhere to the recommended temperature settings specific to the HTV and fabric type.
Application Parameters:
Challenge: Issues might arise due to uneven or insufficient pressure, incorrect time settings, or improper peeling methods.
Solution: Guarantee uniform pressure, align time and pressure settings with the manufacturer’s guidelines, and meticulously follow instructions on peeling methods and timing.
Quality of Vinyl:
Challenge: Low-quality vinyl can compromise adhesion.
Solution: Prioritize acquiring high-grade vinyl from trustworthy suppliers to ensure the quality of the application.
Equipment Adaptation:
Challenge: The unique structure of hats, especially those with curved or uneven surfaces, can pose adhesion challenges.
Solution: Utilize a cap heat press explicitly designed on hats to secure better contact and adhesion.
Post-Application Care:
Challenge: Inadequate curing time and improper care can affect the longevity of the adhesion.
Solution: Allow ample time for the adhesive to cure post-application and adhere stringently to the care instructions provided with the HTV.
Environmental Control:
Challenge: Variations in humidity and temperature can adversely impact the adhesion process.
Solution: Working in a controlled environment can mitigate potential adverse effects and ensure optimal conditions for application.
Washing instructions on hats with HTV
To preserve the aesthetic and quality of your hats embellished with heat transfer vinyl (HTV), adhering to appropriate washing instructions is crucial. Here’s a step-by-step care guide for your HTV hats:
- Initial Waiting Period: Allow a span of 24 – 48 hours post HTV application before the first wash to prevent the vinyl from peeling or cracking.
- Opt for Cold Water: Employ cold water for washing to safeguard the adhesive. Using hot water can risk loosening and subsequent removal of the HTV.
- Gentle Wash Mode: Choose to hand wash gently or select a delicate cycle if using a washing machine, ensuring the hat’s condition remains pristine.
- Utilize a Mesh Laundry Bag: When machine washing, placing the hat in a mesh laundry bag will protect it from tangling and potential damage.
- Steer Clear of Harsh Chemicals: Avoid using bleach or other strong chemicals, which can harm the vinyl.
- Air-Dry Approach: Prefer air drying the hat instead of machine drying, as excessive heat can compromise the vinyl’s integrity.
- Avoid Direct Ironing: Refrain from ironing directly on the HTV to prevent melting or distortion of the design.
By meticulously following these care instructions, you will ensure the longevity and vibrancy of your unique HTV hats.
Maximizing longevity of HTV prints
Ensuring the enduring quality of your HTV prints requires a thoughtful approach. To enhance the longevity of these prints, consider the following tips:
- Optimal Temperature and Pressure: When applying vinyl, it’s essential to utilize the correct temperature and pressure. This practice guarantees proper adhesion, thus minimizing the risk of peeling or cracking as time passes.
- Adhere to Washing Guidelines: Being diligent about the washing instructions for HTV-adorned hats is vital. Typically, opting for hand washing or a gentle machine cycle is the ideal method to maintain the integrity of the vinyl.
- Select Quality HTV: Choosing high-quality heat transfer vinyl, particularly those formulated on hats, is a pivotal step. Such specialized vinyls promise enhanced durability and enduring vibrancy in your prints.
- Employ Expert Techniques: Incorporating strategies recommended by HTV connoisseurs can also be beneficial. Techniques such as layering materials and securing the design with an additional clear adhesive sheet can provide an extra layer of protection to your HTV prints.
Exploring Heat Transfer Vinyl Options on Hats
In this section, we will explore the best types of heat transfer vinyl on hats, discuss customizing designs specifically on hats, and get creative with the various possibilities that HTV offers for hat decoration.
Best types of heat transfer vinyl on hats
As a craft enthusiast, I’m always on the lookout for the best materials to use in my projects. When it comes to heat transfer vinyl on hats, there are a few brands and types that stand out from the rest.
| Type of HTV | Last Name |
|---|---|
| Cricut Everyday Iron-On | This is commonly recommended as the best HTV on hats and shirts for its durability, versatility, and wide color range. |
| Flocked Heat Transfer Vinyl | Flocked HTV is perfect for a unique texture and adding a luxurious touch to hat designs. |
| Infusible Ink Transfer Sheets | Infusible Ink sheets, not technically HTV, are an option for professional-looking designs on hats by infusing ink directly into the fabric. |
| ThermoFlex Plus | ThermoFlex Plus is a reliable option for its quality, user-friendliness, and diverse color availability. |
Now, these are only a few of the numerous types of heat transfer vinyl available on the market. When choosing the best HTV for your hat projects, always consider the type of hat, the desired design, and the specific requirements of your heat press machine. Remember, experimenting with different HTVs is part of the fun and creativity of crafting.
Customizing designs on hats
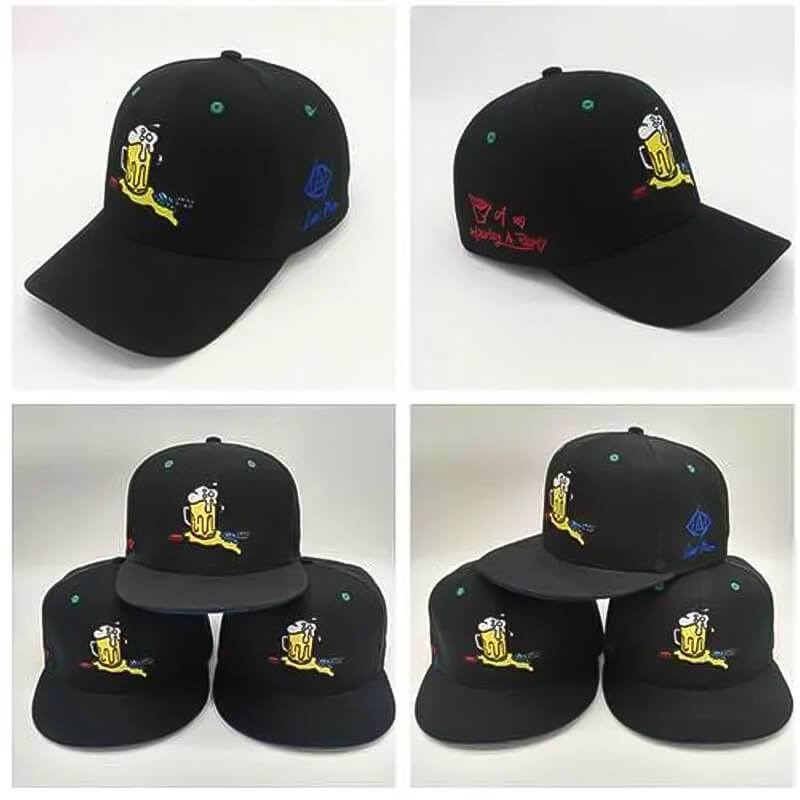
Creating personalized hat designs is a breeze thanks to heat transfer vinyl. This versatile material enables the printing of any image, allowing for the creation of unique logos and personal patches, transforming ordinary hats into branded merchandise with ease.
The Cricut Hat Press is a notable option, boasting adjustable heat settings and preset modes for effective application, making the addition of heat transfer vinyl to hats incredibly straightforward and user-friendly. If you’re looking to purchase one, you can Shop for Cricut Hat Presses to find the best options available. Regardless if you prefer using a standard heat press, the EasyPress, or even a mini iron, applying iron-on vinyl designs to hats can be done effortlessly.
Why settle for the ordinary? Let your creativity flow and design hats that truly make a statement! With the right tools and materials, bringing your vision to life is simpler than ever. Whether you’re crafting unique pieces for yourself or creating branded merchandise, heat transfer vinyl offers unlimited possibilities to make your hats stand out.
Getting creative with HTV on hats
Unlock limitless creative possibilities with heat transfer vinyl (HTV) on hats and elevate your customization endeavors by diving into a variety of HTV options and methodologies. Experimenting with textured or patterned HTV is one way to infuse uniqueness into your creations, rendering them more appealing and distinctive.
Consider blending diverse vinyl colors to forge bold, striking designs or smooth gradients. It not only amplifies the aesthetic appeal but also makes each piece a stand-alone work of art. Layering HTV is another innovative approach, introducing depth and dimension to your artistic expressions.
Dare to venture beyond conventional boundaries and innovate when working with HTV on hats; the outcomes might just astonish you! It’s all about exploring, experimenting, and executing to see your creative concepts come to life in the most stunning ways.
Conclusion
Heat Transfer Vinyl (HTV) stands out as a superior choice for imprinting custom designs on hats and various fabric items. By employing the correct tools and methods, creating standout, bespoke caps becomes a simple, enjoyable process.
Whether you opt for a cap press, a conventional heat press, an EasyPress, or a mini iron, HTV guarantees robust and enduring results. Unleash your creativity on your hat designs with HTV, and ensure your creations leave a lasting impression wherever they’re seen!
FAQs
1. Can you make hats with Cricut heat press?
Yes, you can make hats with a Cricut heat press. Use a Cricut machine to cut designs from heat transfer vinyl and then use a Cricut EasyPress or a hat press to transfer the design to the hat. Ensure the material of the hat can withstand the heat applied during the pressing process.
2. What material to use with Cricut Hat Press?
For the Cricut Hat Press, heat transfer vinyl (HTV) is typically used, and it’s suitable for cotton, polyester, or cotton-poly blends. Ensure the material is compatible with the heat settings recommended for the vinyl to avoid damage.
3. Can you use heat transfer paper on hats?
Yes, you can use heat transfer paper on hats, typically for cotton or polyester materials. Print your design onto transfer paper and then use a heat press or iron to apply it to the hat, following the manufacturer’s instructions carefully to avoid issues.
4. What is the best iron-on vinyl on hats?
There is no one-size-fits-all answer as the best iron-on vinyl depends on personal preferences, the material of the hat, and the desired finish. However, Siser EasyWeed and Cricut Everyday Iron-On are popular choices known for their quality and durability.


