Complete Guide: How To Make Transfers For T-Shirts Easily
Creating your own t-shirt designs can seem daunting, but you’re in luck! I’ve put in the groundwork so you don’t have to. This guide offers you a comprehensive roadmap for crafting t-shirt transfers effortlessly and affordably.
You’ll discover various heat press transfer methods, along with expert advice for achieving top-notch outcomes. All this knowledge allows you to customize clothing right at home. So, without further ado, let’s dive into the world of DIY t-shirt transfers and elevate your design game today!
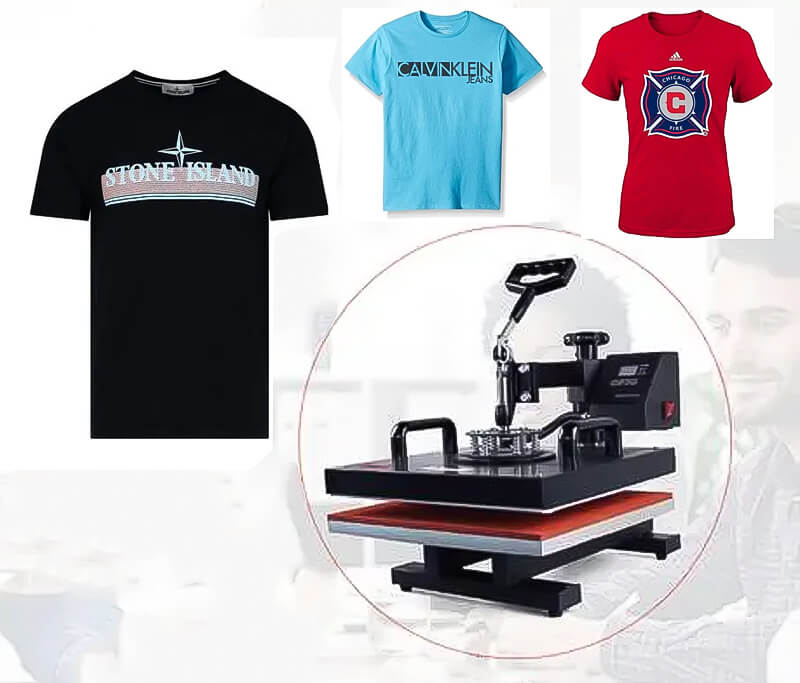
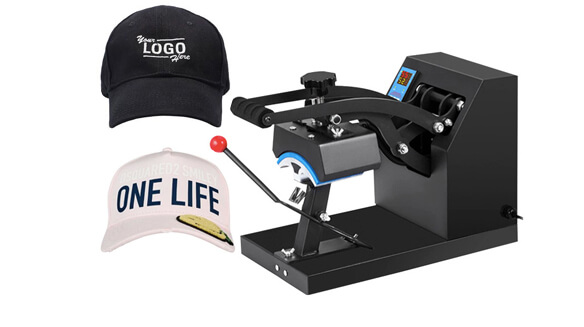
Types of Heat Press Transfers
I can choose from pre-packaged transfer kits, iron-on transfers, plastisol transfers, or screen printing transfers for my project. Weighing your options? Check out our Screen Printing Vs Heat Press guide.
Pre-packaged transfer kits
Pre-packaged transfer kits offer a convenient, all-in-one solution for your heat press transfer needs. These kits come fully equipped with pre-designed heat transfer papers in various image qualities, as well as easy-to-follow instructions.
You’ll find these kits incredibly versatile, as they’re compatible with multiple heat press transfer types. Whether you’re interested in inkjet transfers, dye sublimation transfers, digital appliqué transfers, or vinyl transfers, these kits have you covered.
What sets them apart are the numerous benefits they provide over traditional printing methods. Not only do they offer the convenience of having everything in one package, but they also give you ample room for customization. This makes it a breeze to craft unique designs, either at home or in a professional setting. So, if you’re seeking a quick and straightforward way to bring your custom t-shirt ideas to life, pre-packaged transfer kits might be just what you need.

Iron-on transfers
Iron-on transfers stand out as a go-to method for adding unique designs to t-shirts and other clothing items. This technique involves placing semi-cured plastisol ink prints onto heat-resistant paper. You then use an iron or another pressing tool to apply the design to your chosen garment.
One of the highlights of this method is the creative freedom it offers. You can pick your own image to transfer onto the fabric, and even engage in detailed work by cutting out intricate shapes post-application.
Another perk is the ability to adjust the final look by tweaking the temperature and time settings during the application process. These adjustments depend on various factors like the fabric’s weight, size, and quality.
Best of all, making iron-on transfers at home can be highly cost-effective. You might be wondering, Does Heat Transfer Vinyl Last? Find out by clicking here.
You only need a few essential supplies like quality transfer paper and optional tools like cutters or specialized equipment. So, if you’re looking to add a personal touch to your wardrobe without breaking the bank, iron-on transfers are an excellent choice.
Plastisol transfers
Plastisol transfers are a top pick for those aiming to create long-lasting custom t-shirt designs. These transfers are crafted with adhesive backing and plastisol inks, offering quality results with minimal effort. When applied correctly, these designs can last for years. Confused between embroidery and heat press? Our Embroidery vs Heat Press comparison breaks it down.
The application process involves transferring printer ink to the t-shirt using heat. It’s crucial to use the correct temperature and pressure to ensure the design becomes a permanent part of the fabric. Wondering how long this process usually takes? Our guide on How Long Does It Take To Print A Shirt offers a detailed look at what you can expect.
What sets plastisol transfers apart is their durability. When executed properly, they offer quality on par with traditional screen printing. Plus, they’re typically more scratch-resistant than most iron-on designs. This feature adds to their longevity, making them a standout choice among various transfer methods. So, if you’re in search of a transfer option that combines ease of use with long-lasting results, plastisol transfers are certainly worth considering.
Screen printing transfers
Screen printing is a widely favored method for creating custom t-shirts and promotional items, especially when vibrant, long-lasting colors are a priority. The process involves crafting a screen featuring your chosen design and then pushing ink through this screen onto the fabric.
One of the key advantages of screen printing is its efficiency for large orders or multi-colored designs. It requires less setup time compared to other heat press methods, and the end result is often more durable and long-lasting than alternatives like iron-on or plastisol transfers. Want to diversify from t-shirts to polos? Learn Can You Screen Print On Polo Shirts with our comprehensive guide.
If you’re considering DIY screen printing at home, the process is fairly straightforward. But Does Screen Printing Last? We’ve got the answers. First, you create or pick a design. Next, select the right type of transfer paper. If you’re working on light-colored shirts, make sure to mirror the images correctly. During the application, align your design on a Teflon sheet or parchment paper, and then press using medium pressure and heat for the suggested time frame. Wondering how to make your own screen print transfers? Check out our guide on How Do I Make My Own Screen Print Transfers. Follow these steps, and you’re likely to end up with a high-quality, enduring design.
What do you need to make t-shirt transfers?
Supplies Needed
- Design Software: Software like Adobe Photoshop, Illustrator, or even free alternatives like GIMP can be used to create or edit your design.
- Inkjet Printer: You’ll need an inkjet printer capable of high-quality printing and an iron or heat press. What size heat press is best for shirts? Click here to find out.
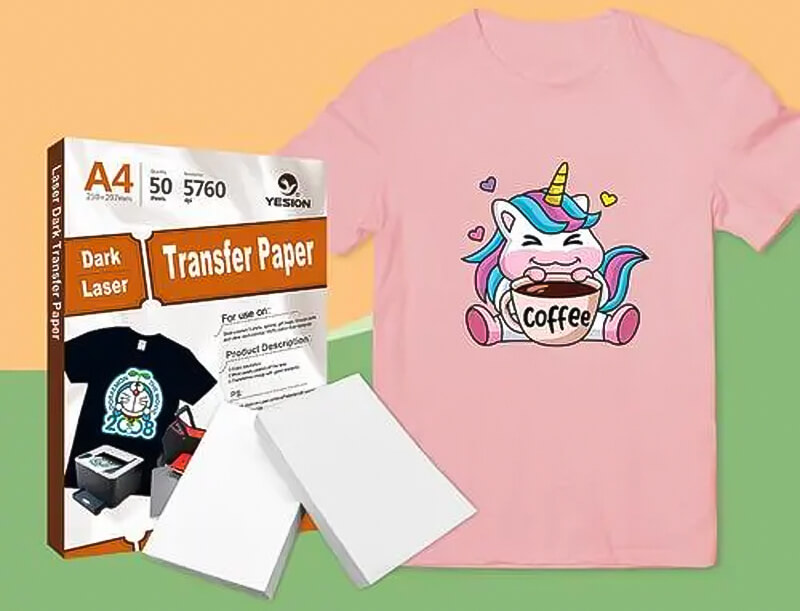
- Transfer Paper: Special paper designed for transferring printed designs onto fabric. There are different types of dark and light fabrics.
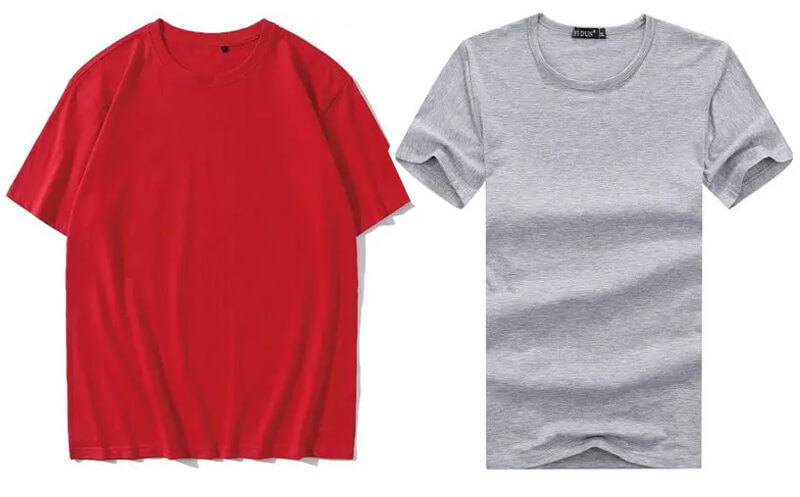
- Blank T-Shirts: Cotton or a cotton blend usually works best. But which t-shirts are truly the best for heat pressing? Read our guide on What Is The Best T-shirts For Heat Press to find out.
- Scissors or Craft Knife: To cut out your design.
- Iron or Heat Press: You’ll need this to transfer the design onto the t-shirt.
- Parchment Paper or Silicone Sheet: Often used as a barrier when ironing.
- Hard, Flat Surface: Ironing board or similar to do the transfer on.
- Rubbing Alcohol or Spirit (Optional): For cleaning the area where the design will be transferred (helpful but not mandatory).
Step-by-Step Guide: How Do You Make a Shirt Transfer at Home?
Creating a custom t-shirt or fabric item at home is a fulfilling project, and following the right steps can make all the difference in the quality of your final product. Here’s a streamlined guide to walk you through each step of the process.
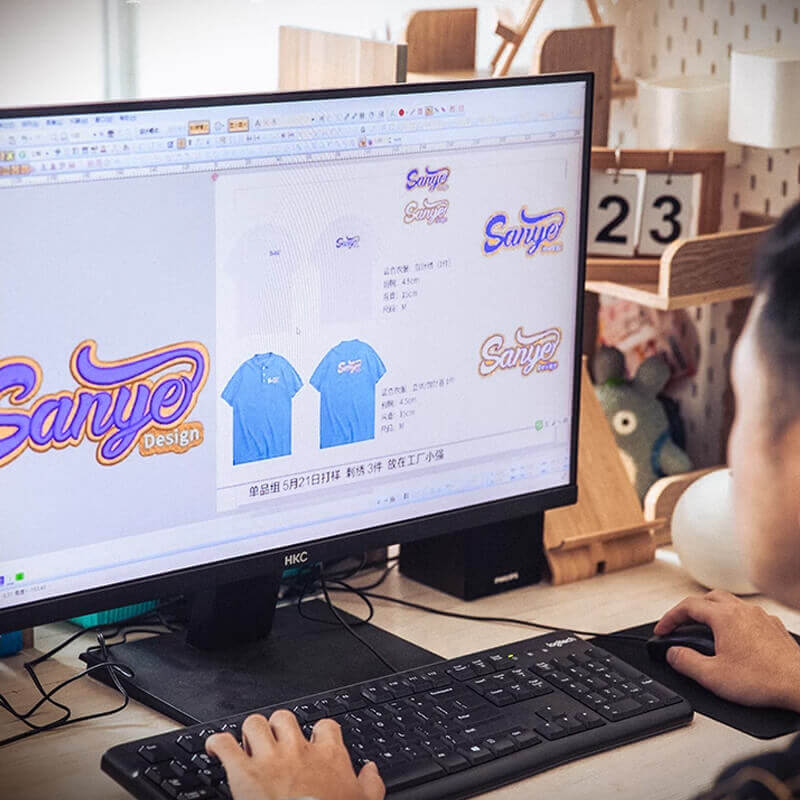
Designing the Graphic
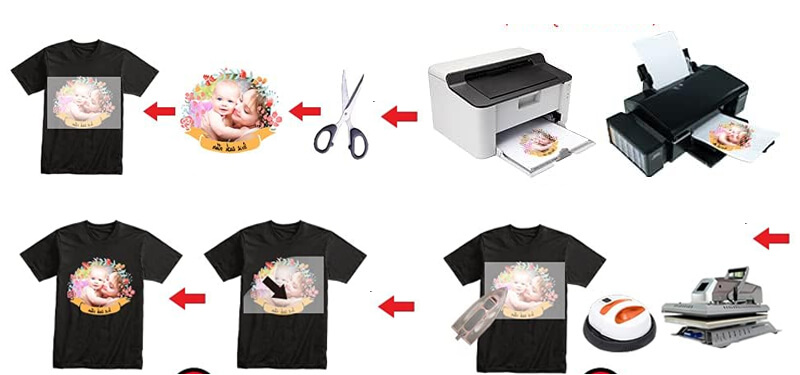
- Create or Choose Your Design: Utilize graphic software like Adobe Photoshop or Illustrator to craft or tweak your design. Ensure it’s the exact size you desire on the fabric.
- Mirror the Design: If your design features text or is directional, don’t forget to mirror the image for accurate rendering post-transfer.
- Print the Design: Using an inkjet printer, print the mirrored design onto heat transfer paper. Always adhere to the manufacturer’s guidelines for correct printing.
Choosing the appropriate transfer paper
Choosing the right transfer paper is crucial for DIY heat press projects. Craft stores offer pre-packaged kits with easy instructions for T-shirt printing. Iron-on transfers aren’t durable but can be used if necessary. Plastisol transfers provide vivid colors and durability, while screen printing offers excellent coverage but requires more setup. Brands like PPD and TransOurDream offer high-quality papers that vary in price based on quality and color density.
Preparing the Fabric
- Pre-wash the Fabric: Washing the fabric first removes any residue that might disrupt the transfer.
- Pre-heat the Heat Press: Activate your heat press machine, setting it to the appropriate temperature and pressure as indicated by your heat transfer paper’s instructions.
- Place the Fabric: Lay your t-shirt or fabric flat on the heat press machine, ensuring it’s wrinkle-free.
Transferring the Design
- Cut the Design: Trim around your design, leaving a minimal margin.
- Position the Design: Align the cut design on the fabric, printed side facing down.
- Apply Protective Layer: Lay a Teflon sheet or parchment paper over your design as a protective measure.
- Press the Design: Activate the heat press, adhering to the manufacturer’s time and temperature guidelines.
- Remove Press and Paper: Once time’s up, lift the heat press and cautiously peel off the transfer paper. Note that some papers require a hot peel, while others necessitate a cold peel.
- Inspect the Design: Check to ensure the design is transferred cleanly and entirely. If not, it may need another press.

Post-Transfer
- Cool Down: Allow the fabric time to cool.
- Final Press: Some prefer an additional quick press, using the protective sheet, to fully secure the design.
- Wash and Care: Wait at least a day before washing the fabric. When you do, turn it inside out, wash it in cold water, and ideally, let it air dry.
Applying the transfer to the shirt
When your transfer is prepped and ready to go, it’s time to place it on your chosen t-shirt. Using either a heat press or an iron, apply heat and pressure for the duration recommended in your specific transfer method’s guidelines.
First things first, make sure to remove all protective layers from the transfer. This is crucial to avoid any streaks or damage during the heat application. For general use, applying medium pressure and pressing for about 10-15 seconds at roughly 310°F (154°C) usually yields durable and quality results while also ensuring the fabric’s safety. For more detailed information and specific guidelines on setting the correct temperature and time for various materials, you can refer to our article on Heat Transfer Vinyl Temperature and Time.
For more sensitive fabrics like lycra or silk blends, you might want to opt for lower temperatures. Doing so can yield better results without risking damage to the delicate material.
By paying attention to these details, you’re well on your way to a successful and high-quality heat transfer, perfect for customizing your wardrobe or creating personalized gifts.
How do I print my own heat transfers?
To print your own heat transfers, first create or layout your design using software like Photoshop. Make sure to reverse the image if required by your transfer paper. Print a test design on regular paper, and once satisfied, print the actual design on heat transfer paper using an inkjet or laser printer. Cut around your design with scissors or a cutting machine.
Preheat your iron or heat press to the required temperature. Place your design face down on the fabric and cover it with a sheet of parchment paper or a Teflon sheet. Press down firmly with the iron or heat press for the time specified in the instructions. Once done, peel off the backing paper and your design should be successfully transferred. Wait at least 24 hours before washing the fabric to ensure the design sets properly.
Can you print t-shirt transfers with a regular printer?
You can print T-shirt transfers using a regular inkjet or laser printer, but make sure to buy the right type of heat transfer paper for your printer. Create your design using software like Photoshop and print a test run on regular paper. Once satisfied, print the actual design on the transfer paper, and adjust your printer settings for high-quality output. Cut out your design and use an iron or heat press to transfer it onto the fabric. Follow the instructions that come with the transfer paper for best results, including any recommendations about reversing the image or specific ironing times.
Pros and Cons of Making Heat Press Transfers at Home
Making heat press transfers at home can be a cost-effective and convenient way to customize t-shirts with unique designs, but the durability of these transfers is limited compared to professional screen printing services.
Pros: Cost-effective, customization options, convenience
Creating heat press transfers at home is not only affordable but also incredibly convenient. DIY transfer kits are easily accessible, whether you find them in a store or shop online. The cost varies, starting from just a few dollars and going up to over $100, depending on what you’re looking for.
One of the big advantages is freedom from relying on external printing services. These services can be both costly and inconvenient, particularly when you need specific customizations. Having a heat press machine and the necessary supplies at home puts you in the driver’s seat, letting you unleash your creativity on a wide array of designs. Whether you’re aiming for simple logos or intricate patterns, achieving high-quality results is within your grasp.
Moreover, should your initial attempt not go as planned, making quick revisions is a breeze. This flexibility is something you’re unlikely to find with external vendors, who often can’t offer fast turnaround times.
So, when you weigh the benefits, it’s clear that at-home heat press transfers offer an optimal blend of quality, convenience, and cost-effectiveness.
Cons: Limited durability, potential for mistakes
When making heat press transfers at home, durability and room for error are important factors to consider. If the transfer isn’t done well, it may not stick to the fabric as it should, leading to design flaws.
A lackluster transfer doesn’t just impact the shirt’s appearance; it also causes the design to fade over time. This can happen because of poor adhesion or incorrect washing methods. Moreover, using excessive heat or pressure can risk damaging the fabric or smudging critical details in your design.
In short, mistakes now could cost you dearly later, affecting both the quality and longevity of your work.
Tips for Better Results
For optimal results in DIY heat press transfers, consider using a Teflon sheet or parchment paper during the pressing process. Apply medium pressure and heat, following the time guidelines provided.
After pressing, let the transfer cool down before peeling off the backing. Finally, make sure to follow proper care instructions for your newly transferred shirts to ensure they last longer.
By taking these steps, you’ll improve both the quality and longevity of your heat press designs.
Using a Teflon sheet or parchment paper during pressing
Using a Heat Press Teflon Sheets offers several benefits to ensure a smooth heat press transfer onto t-shirts. These sheets prevent sticking, help distribute heat evenly, and keep your design straight during the pressing process. They also act as a heat barrier, enhancing the durability of your transfer.
Furthermore, Teflon sheets offer an extra layer between the garment and the top platen, helping to keep it unobstructed. However, it’s crucial to note that Teflon sheets or parchment paper shouldn’t be used as the primary cover sheet for your heat press. Doing so could actually reduce its effectiveness by blocking essential heat.
In summary, while Teflon sheets are highly useful for multiple reasons, remember not to use them as your main cover to maintain the heat press’s optimal performance.
Applying medium pressure and heat for the recommended time
Transferring designs onto T-shirts demands accuracy in heat and pressure application to ensure lasting adherence. Inaccurate levels can cause issues like bubbling, peeling, or fading, compromising the design’s durability.
For shiny, sparkly vinyl, a medium pressure for 10-15 seconds is ideal. On the other hand, regular matte vinyl might need slightly less time. Uniform pressure distribution, both at the center and edges, is crucial for consistent heating during the pressing process.
Moreover, adhering to the manufacturer’s temperature guidelines for different materials greatly enhances the outcome of your custom transfer.
Allowing the transfer to cool before removing the backing
A high-quality T-shirt transfer relies heavily on proper cooling. This step plays a pivotal role in the end product. Neglecting it might result in a misaligned image or poor adhesion.
Moreover, when using iron-on transfers that have specific heat and time settings, it’s crucial to let them cool. This ensures the design sets just right. The cooling duration can differ based on the transfer paper type and brand. For instance, Epson Iron-on Transfer papers typically need a brief 1-2 minute cool down. However, other brands might demand a longer wait before you peel off the transfer sheet.
By patiently waiting for your design to cool before peeling off its protective layer, you’re rewarded. The outcome? A flawlessly positioned, sharp print that, with the right care, stands the test of time.
Properly caring for transferred shirts
Achieving standout designs on custom t-shirts using heat press transfers hinges on technique and post-print care. To ensure your printed design retains its allure, follow these maintenance tips.
Firstly, invert your T-shirt before washing. This simple step shields the design from potential damage caused by rubbing against other clothes or the washing machine’s walls. Also, it’s wise to choose a gentle washing cycle at lukewarm temperatures, ideally between 30-40 degrees Celsius. This is particularly beneficial for cotton shirts, as scalding water may compromise the print quality.
Furthermore, if you’re considering Cricut Iron-On Vinyl or similar self-weeding types of vinyl, a pre-wash of your t-shirt is a must. This step is vital in preventing distortions or buckling, often resulting from the shirt’s shrinkage during the heat application in later stages.
Conclusion
Personalizing T-shirts through DIY transfers has surged in popularity, providing a platform for unique garment designs. This approach is not only cost-effective but also allows for tailor-made creations right from one’s living room.
All one needs is a chosen design, transfer paper, an iron or heat press, and adherence to the specified guidelines. With these in hand, the process becomes a breeze for anyone.
Yet, DIY heat press transfers come with their own set of challenges. Their durability often falls short compared to commercial T-shirt prints. Also, errors in homemade transfers are trickier to rectify than in screen printing. So, for DIY enthusiasts, it’s crucial to remember certain nuances. For instance, always mirror images when working with light-colored fabrics and exercise caution while peeling off the backing prior to the transfer application.
By keeping these pointers in mind, you’re set to craft stunning apparel each time!
FAQs
1. How to print t-shirts at home without transfer paper?
One popular method is direct-to-garment (DTG) printing. DTG printers print directly onto the fabric. Another method is screen printing, where a design is pressed onto the shirt using a mesh screen and ink.
2. How do you transfer a picture to a shirt with transfer paper?
Print your desired image onto transfer paper using an inkjet printer. Cut out the design, leaving a small border. Preheat your iron (no steam) and place the image face down on the shirt. Press the iron firmly over the image for the time recommended on the transfer paper instructions. Once cooled, peel off the backing paper.
3. How to print t-shirts at home with an iron and transfer paper?
Just like the previous method: Print the image on transfer paper, cut it out, preheat your iron, place the image face down, press with the iron, and peel it off once cooled.
4. How do you make vinyl transfers for shirts?
Using a cutting machine, cut your design from vinyl. Weed out the excess vinyl, leaving only your design. Place your design onto the shirt, use a heat press or iron to adhere it, and then peel off the carrier sheet.