Optimal Heat Transfer Vinyl Temperature and Time Guide
Understanding the intricacies of applying heat transfer vinyl (HTV) on fabrics can seem daunting. That’s why we’ve delved deep into extensive research to pinpoint the optimal temperature and time settings for an impeccable HTV application.
Our comprehensive guide empowers you to effortlessly apply HTV to any surface, yielding remarkable results! Delve into our article to explore more about discerning the ideal temperature and determining the apt duration for flawless HTV application!
What temperature do I use for heat transfer vinyl?
Material-Specific Settings: Different materials necessitate distinct settings. Basic Cotton Fabric, aim for 305°F(151°C) for 10-15 seconds. Sublimated polyester needs just 270°F(132°C) for 15 seconds, stretch materials require 305°F (151°C) and a pressing time of 15 seconds, and glitter vinyl is best at 320°F (160°C) and a pressing time of 10-15 seconds, following specific layering instructions.
Pre-Pressing Importance: Pre-pressing your item at the correct temperature and for the right duration is crucial, as it aids the vinyl in adhering well to your item. Likewise, applying sufficient pressure is essential to achieve proper adhesion, preventing issues like peeling or cracking.
Common Pitfalls: Inappropriate settings can lead to a multitude of problems. These include insufficient pressure, the use of incorrect materials, improper layering, and inadequate temperature control, all resulting in an unsatisfactory finish.
Influential Factors: Several elements influence the optimal time and temperature settings, such as the fabric type, the thickness of the vinyl and the material, the specific heat press machine in use, environmental humidity levels, and even altitude.
Ultimate HTV Settings: Temperature & Time for Various Materials
| Product |
Applicable Materials |
Temperature | Time (Seconds) | Peel | Recommended |
|---|---|---|---|---|---|
| Siser Easyweed | Cotton, Polyester, Polycotton Blends | 305°F/151°C | 10-15 | Cold | Yes |
| Siser Glitter | Cotton, Polyester, Polycotton Blends | 320°F/160°C | 10-15 | Hot | Yes |
| Siser Stretch | Lycra/Spandex, Cotton/Polycotton Blends | 305°F/151°C | 15 | Cold | Yes |
| Basic PU (on Blend) | Cotton/Poly Blend | 280°F/140°C | 30 | W/G | Yes |
| Foil (on 100% Cotton) | 100% Cotton | 330°F/165°C | 30 | C/G | Yes |
| Glitter (on Nylon) | Nylon Blend | 330°F/165°C | 30 | W/G | Yes |
| Stretchable | Silk* | 315°F/155°C | 30 | W/G | Yes |
| Patterned (on Mesh) | Mesh | 340°F/170°C | 50 | C/F | Yes |
Note: *Silk material is indicated with an asterisk, and users need to be cautious when applying heat. The Peel column represents the recommended peel method, with W/G indicating Warm Peel and C/G indicating Cool Peel. The Recommended column indicates whether the product is recommended for use on the respective material.
Importance of Proper Time and Temperature Settings for Heat Transfer Vinyl
Understanding the correct pre-press time and temperature is essential for an effective HTV transfer, allowing the adhesive to set properly to ensure adhesion with the garment material.
Pre-Press Time and Temperature
Establishing accurate pre-press time and temperature is essential for a successful heat transfer vinyl (HTV) application. Without adhering to recommended settings, users may face issues like peeling, improper adhesion, or uneven application results.
Temperature significantly influences the adhesion, durability, and finish of your decal on various surfaces. The typical temperature range for HTV is between 305°F (150°C) to 320°F (160°C) degrees Fahrenheit, with variations depending on the material type. For instance, shiny or sparkly types usually necessitate 10-15 seconds at medium pressure.
In contrast, regular matte vinyl requires less time, as it adheres best at lower temperatures. Generally, manufacturers recommend 8-15 seconds, but this can vary depending on the material – from basic color vinyl to stretchable options like spandex or glitter vinyl, which, despite being thinner, need slightly longer durations.
Ensuring Adhesion to the Surface
For optimal results when applying heat transfer vinyl to any material, adhering to the correct temperature and care instructions is paramount. Ensure you stick to the recommended pre-press time and temperature settings found on each product label to guarantee your design’s longevity and quality.
This adherence ensures maximum adhesion, allowing you to craft enduring designs seamlessly. Heat presses might necessitate an extra degree of pressure to secure the vinyl firmly to the surface.
Neglecting these guidelines could jeopardize the adhesive quality, leading to issues such as poor adhesion or cracking upon peeling. Extended exposure to excessive temperatures might also result in discoloration or fading, thereby compromising your design’s aesthetic appeal and outcome.
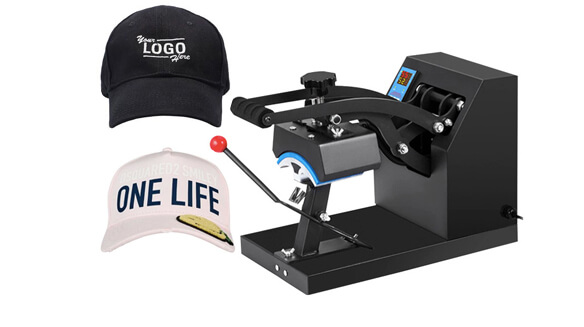
Looking for specialized materials? Explore the best heat transfer vinyl on hats to ensure durable and lasting designs.
For those interested in alternative methods, learn how to put vinyl on a hat with an iron for a perfect finish.
Common Problems with Incorrect Settings
Incorrect settings, including time, temperature, and pressure, can introduce a myriad of problems during heat transfer vinyl applications. Using improper settings can lead to several issues, such as:
- Insufficient pressure during pressing can result in the vinyl not adhering properly.
- Inaccurate heat press settings can cause unsuccessful or uneven heat transfers.
- Utilizing unsuitable material can lead to misinterpretation or neglect of manufacturers’ recommendations, resulting in multiple failed heat transfers. For instance, sublimation (polyester) textiles require higher temperatures than basic color materials, underscoring the importance of understanding material differences before initiating projects!
- Mistakes in layering vinyl in multi-layered designs can accelerate wear over time and lead to adhesive failure, causing the vinyl to lift or peel away upon initial application.
By being cognizant of these potential pitfalls and adhering to the appropriate guidelines, you can ensure the longevity and quality of your heat transfer projects.
Impact on Durability and Finish
Achieving the right time and temperature settings is pivotal when using heat transfer vinyl (HTV). When applied correctly, HTV endures on garments, showcasing a professional finish.
Conversely, incorrect settings can result in peeling, cracking, or fading due to inadequate adhesion. Given that HTV has an adhesive backing activated by heat, it’s crucial to ensure appropriate pressure and the right amount of heat for the necessary duration.
Inappropriate temperature settings can lead to the application of excessive or insufficient heat, potentially causing damage over time or diminishing the aesthetic quality. Equally important is recognizing the fabric type you are working with; certain materials like denim necessitate higher temperatures compared to lighter fabrics like cotton T-shirts, ensuring optimal results with HTV applications.
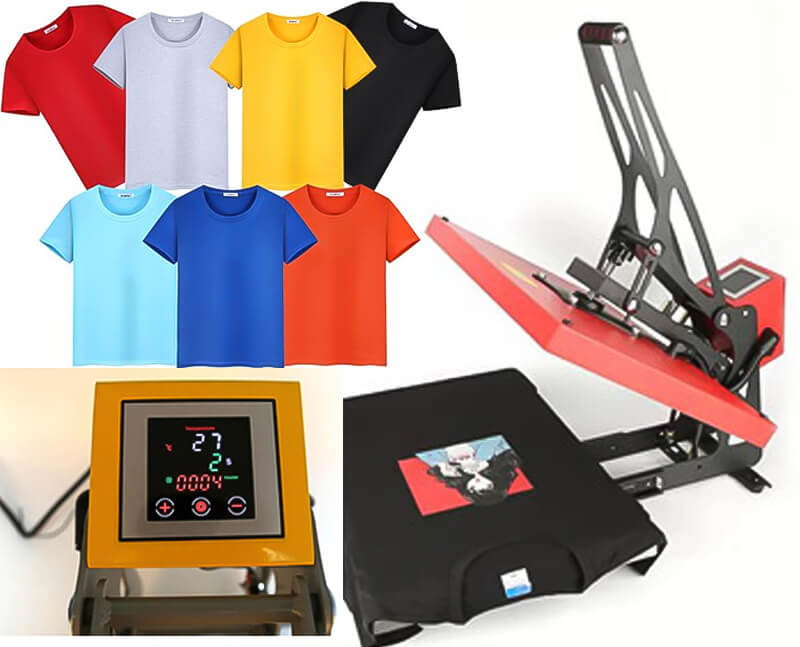
Curious about the ideal materials for your projects? Find out what are the best t-shirts for heat press to ensure your designs stand out.
Heat Press Temperature and Time Guide for Different Materials
Knowing the right temperature and time settings is key for successful heat transfers on different materials such as cotton, garments, stretch materials, glitter vinyl, and more. Dive in to learn about it now!
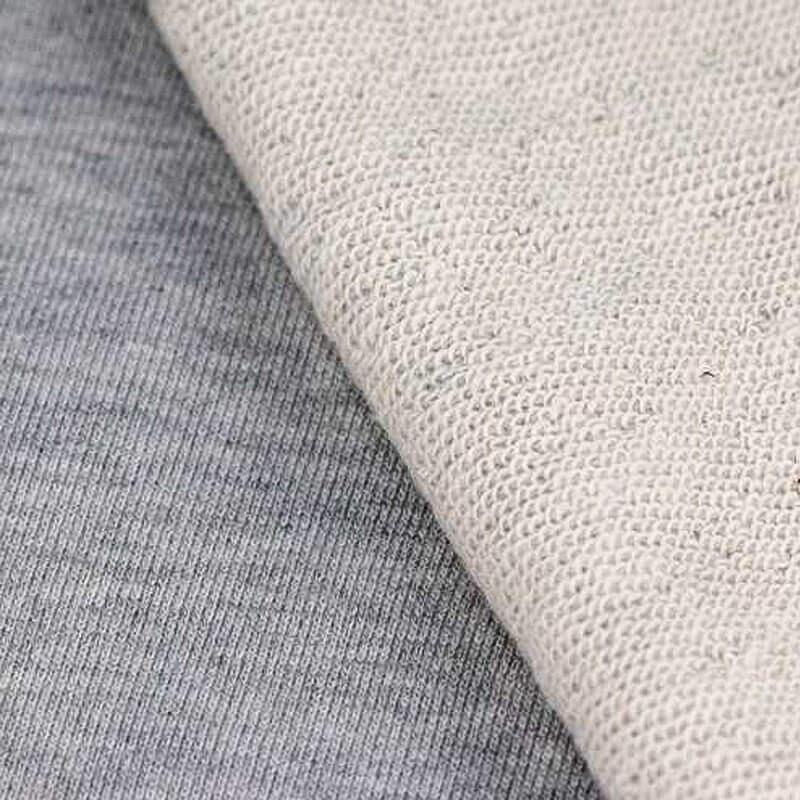
Basic Cotton Fabric
When applying heat transfers to basic cotton fabric, fine-tuning the temperature settings is key. Typically, a range of 305°F(151°C) is considered ideal, with medium pressure applied for roughly 10-15 seconds to secure optimal adhesion. However, for more robust cotton materials, adjusting the temperature to a higher bracket of approximately 320°F(160°C) becomes essential. In such cases, prolonging the pressing time to around 20 seconds and ramping up the pressure, contingent on the fabric’s thickness is advisable. This attention to detail ensures a seamless and enduring application, contributing to the longevity and quality of the finished product.
Sublimated (Polyester) Fabric
Being cognizant of the right time and temperature settings is vital when applying heat transfer vinyl to sublimated (polyester) fabric. The advisable heat press settings stand at 270°F (132°C) for 15 seconds under medium pressure.
Nonetheless, it’s imperative to consider additional factors, including fabric type, vinyl thickness, material, and environmental conditions such as humidity. For example, the polyester fabric used in ceramic sublimation typically demands slightly lower temperatures, while stretchable materials might necessitate higher temperatures and extended pressing times to achieve optimal adhesion and durability.
Pre-pressing the item to be decorated can also enhance results, especially when utilizing compatible heat presses with precise temperature controls. Adhering to these guidelines will ensure the creation of high-quality finished products consistently!
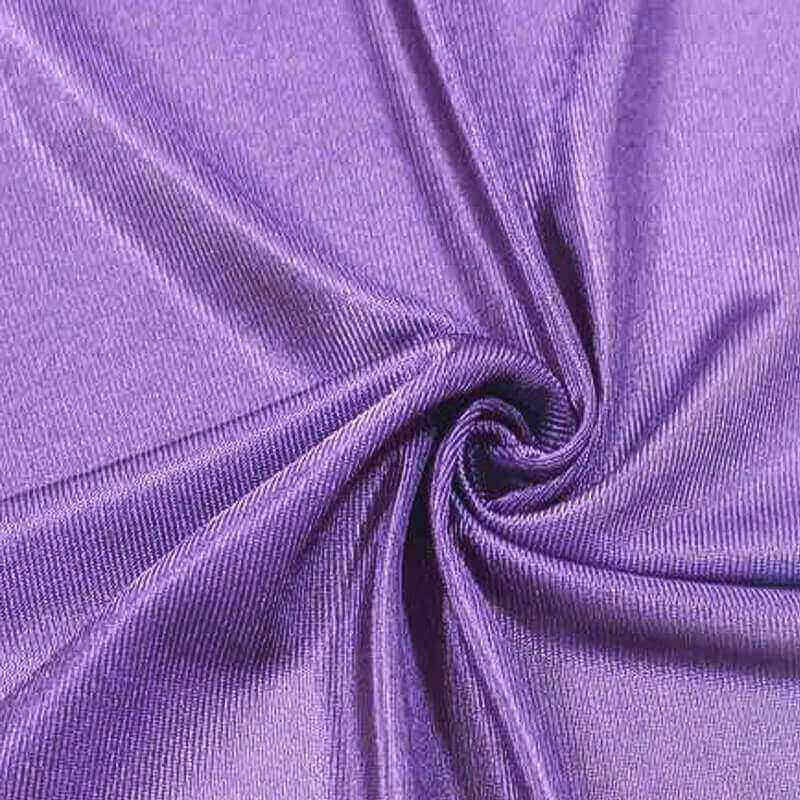
Stretch Material
Working with stretch fabrics? Securing the right heat press temperature and time is pivotal. Getting the temperature too high can lead to unwanted stretching during the application, and too low a setting might result in the transfer vinyl struggling to stick properly to the fabric. Here’s a concise guide to get the optimum results while printing on stretch materials:
1. Polyester Stretch Fabric: The table did not provide specific information for “Polyester Stretch Fabric”. However, if it can be likened to Lycra/Spandex & Cotton/Polycotton blends, it requires a temperature of 305°F (151°C) and a pressing time of 15 seconds.
2. Nylon Stretch Fabric: For nylon, maintain the temperature at 290°F (143°C) and press for a duration of 15 seconds.
3. Spandex Stretch Fabric: The closest match in the tables is Lycra/Spandex & Cotton/Polycotton blends, which require a temperature of 305°F (151°C) and a pressing time of 15 seconds.
4. Cotton/Polyester Blend Stretch: Cotton, Polyester, and Polycotton Blends are listed in the table, with a recommended temperature of 305°F (151°C) and a pressing time between 10 and 15 seconds.
5. Tri-Blend Stretch: Tri-blend fabrics, composed of cotton, polyester, and rayon, require temperatures between 300°F (149°C) and a pressing time of 13 seconds.
Pro Tips:
- Prevent Scorching: Place a Teflon sheet between the fabric and the heat plate.
- Even Heat Distribution: Stretch and flatten the fabric before pressing.
- Avoid Overheating: Stick to the minimum recommended pressing time.
- Set the Ink: Allow the fabric to cool before stretching or wearing. For more specialized guidance, particularly on hat materials, discover what temperature do you heat press a hat.
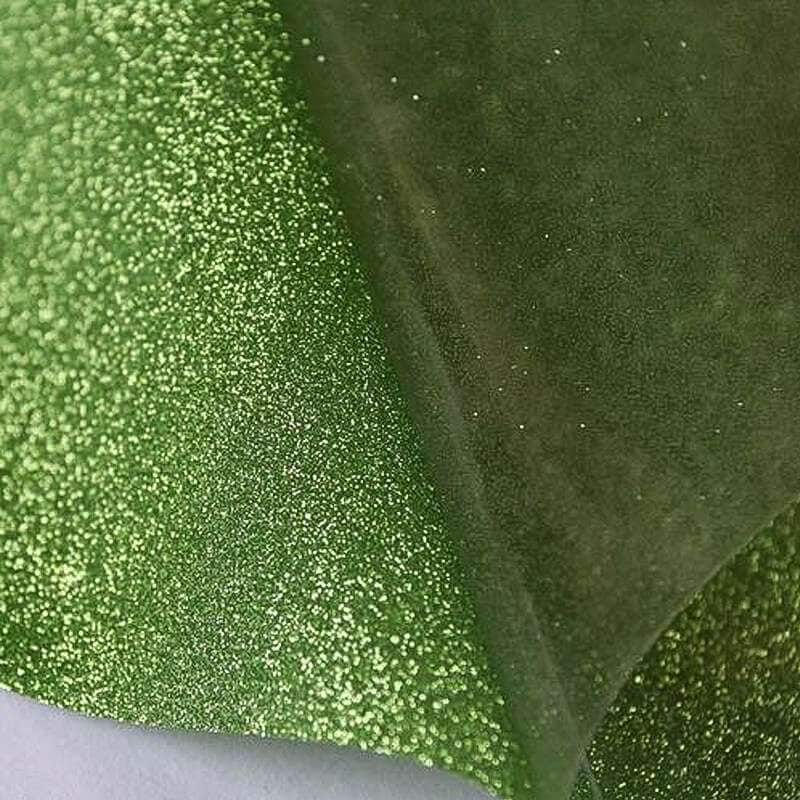
Glitter Vinyl
For enthusiasts utilizing heat transfer vinyl, knowledge of accurate temperature and time settings is crucial for crafting impeccable designs, and Glitter Vinyl is a top choice for printing. Here’s a succinct guide with recommended settings to ensure flawless prints on glitter vinyl:
Glitter Vinyl Settings:
- Temperature: 320°F (160°C)
- Time: 10-15 seconds
Handy Tips for Glitter Vinyl Pressing:
- Moderate Pressure is Key: Employ light to medium pressure during the process; excessive force may lead to the peeling of the glitter particles.
- Use Protective Sheets: A silicone or Teflon sheet placed over the vinyl during pressing will thwart any sticking incidents.
- Minimize Press Time: Opt for the shortest pressing time to circumvent overheating the vinyl.
- Cool Before Peeling: Let the vinyl cool thoroughly prior to removing the carrier sheet.
- Adjust If Needed: If peeling occurs, lower the temperature and extend the pressing time.
- Sample Test: Always run a test on a small sample to verify the settings for proper application.
Factors Affecting Time and Temperature Settings
There are numerous variables that influence the time and temperature settings for HTV applications, such as fabric type, vinyl thickness, machine type, and environmental conditions.
Type of Fabric or Material
When working with heat transfer vinyl on textiles, it’s crucial to understand the nature of the fabric or material in use. Each fabric has unique properties affecting the necessary time and temperature settings required for optimal heat transfer vinyl application.
Take cotton fabric, for instance. It has a tendency to shrink and expand upon heat exposure. Therefore, extra precautions are needed when applying heat transfer vinyl to cotton to ensure that the design adheres properly and lasts long. Equally, with polyester fabric, adjustments to time and temperature are paramount. Unlike cotton, polyester retains heat for longer periods, necessitating meticulous settings to forge maximum adhesion between the substrate and thermal film materials.
Furthermore, the composition of the fabric influences how well a surface can retain or release energy. For instance, window frames featuring low-emissivity coatings that regulate thermal saturation can significantly influence your success in achieving seamless adhesion in those specific areas.
Thickness of Vinyl and Material
In the realm of heat transfer vinyl, considering the thickness of both the vinyl and the substrate is pivotal for determining the appropriate time and temperature settings. Taking into account these factors ensures consistent success in the heat transfer process, avoiding prevalent issues such as bubbling, peeling, and inadequate adhesion.
For instance, pairing thinner materials with thicker vinyl, common in stretchable fabrics, might necessitate extended pressing times or elevated temperatures. Conversely, caution is paramount with non-stretch textiles like cotton t-shirts, given their susceptibility to scorching at high temperatures.
On another note, utilizing rigid materials like polyurethane demands precision, often requiring reduced press times at lower temperatures, given their brittleness compared to fabric substrates.
Type of Heat Press Machine
Heat press machines are crucial for applying heat transfer vinyl. Choosing the right machine and features depends on the material you’re working with and your personal needs, including pressure adjustment, timer control, power requirements, temperature range, and whether you prioritize size or portability.
A vast array of heat presses is available, each with varying capabilities. For those just starting out, the Cricut Autopress machine is a popular choice. Known for its user-friendliness, it comes with a handy guide addressing common questions about usage, supplies, and troubleshooting.
On the flip side, there are industrial-grade models equipped with adjustable substrate table height and digital interfaces. These are ideal for those who have a need to print intensively on thicker fabrics and seek higher productivity speeds.
Environmental Conditions (Humidity, Altitude)
High humidity or altitude can present challenges when applying heat transfer vinyl (HTV). These conditions can impact the time and temperature settings essential for optimal adhesion, durability, and finish on the material in use.
Humidity raises the risk of blistering, peeling, curling, or shrinking, due to moisture trapped within a substrate. Altitude, on the other hand, affects air pressure, impacting the available heat to activate the adhesive.
To ensure HTV products adhere well, adjustments to press time and temperature are vital in response to the prevailing atmospheric conditions. Keeping these factors in mind, it’s wise for HTV enthusiasts, be they professionals or hobbyists, to test processes on sample swatches before attempting adhesion onto final product materials. Speaking of unique applications, have you ever wondered, Can You Sublimate on Acrylic Beanies? Click here to explore this interesting technique further!
Tips and Tricks for Optimal Heat Transfer
By pre-testing a material swatch, you can accurately adjust the pressure and temperature settings on your heat-press for optimal results.
Pre-testing on Material Swatches
Conducting pre-tests on material swatches is a pivotal step in using heat transfer vinyl (HTV). This practice involves careful experimentation and tweaking of temperature and time settings for each fabric or material, helping you pinpoint the optimal conditions for successful HTV transfers.
Mastering this step can be a real time-saver, eliminating the guesswork associated with different surfaces. Pre-testing not only guarantees proper adhesion but also contributes to vibrant, enduring colors.
These considerations are vital for crafting durable, top-quality designs that withstand the test of time and numerous wash cycles.
Adjusting Pressure on Heat Press
Adjusting pressure on the heat press is a vital aspect of the heat transfer process, pivotal for achieving successful applications. Insufficient pressure can result in the vinyl not adhering properly, leading to unsuccessful projects and wastage of materials and time.
Hence, it’s crucial to properly set your heat press depending on what you’re transferring. It is also advisable to consider pre-testing your design before applying it to the final project surfaces.
Heat presses come with adjustable pressure settings, so controlling the amount of force applied during pressing is key to obtaining impeccable results each time. Applying the right amount of pressure ensures optimal contact between the HTV graphic and the substrate, which is essential for proper adhesion; any deviation can jeopardize the project.
For those who wish to create unique designs, learn how to make transfers for t-shirts for a personalized touch.
Dealing with Mixed Materials
When using Heat Transfer Vinyl (HTV) on t-shirts, achieving optimal results heavily hinges on setting the right time and temperature, especially when dealing with mixed materials.
Different fabrics necessitate distinct temperature settings; for instance, polyester demands 270°F, cotton requires 380°F, and stretch material needs 335°F, while both full color and vintage settle at 350°F, with reflective fabric having its own unique requirement.
Balancing the right amount of pressure for each type of shirt can be challenging, with the risk of over-pressing one or under-pressing another. To ensure the best outcome, it’s advisable to pre-test and adjust the necessary pressure before embarking on larger projects.
Moreover, layering two different types of HTV can be a complex process, but it is feasible if the correct procedure is followed. By reducing the temperature after each application and extending the dwell time, you can enhance the adhesion between layers, achieving better results compared to applying full power settings all at once.
Conclusion
Undoubtedly, utilizing the right time and temperature for applying heat transfer vinyl to fabrics is pivotal. Incorrect settings can spell trouble, resulting in poor adhesion and a compromised end result lacking in durability.
Guided by the manufacturer’s recommendations, it’s crucial for users to adhere to the prescribed heat press settings. This is particularly important when working with a mix of materials or navigating through thicker vinyl layers.
By initiating preheating and subsequently employing the optimal temperatures and times, you can ensure the reliable application of heat transfer artwork. This approach not only guarantees quality but also secures enduring results, making every project a testament to craftsmanship and attention to detail.
FAQs
1. What temperature and time should heat transfers be?
The appropriate temperature and time depend on the type of material and the type of heat transfer vinyl (HTV) being used. Generally, the temperature can range from 270°F and 310°F (132°C to 154°C), and the time can range from 10 to 15 seconds. It’s crucial to follow the instructions provided by the HTV to avoid damaging the material.
2. What temp do I set my heat press for HTV?
For most HTV, the recommended temperature is usually between 270°F and 310°F (132°C to 154°C). However, always refer to the manufacturer’s instructions, as different types of HTV may have different recommended settings.
3. Why won’t my vinyl stick to my shirt?
Vinyl may not adhere properly to a shirt for several reasons, such as incorrect temperature setting, insufficient pressure, the fabric not being pre-pressed to remove moisture, or the fabric being incompatible with the type of vinyl. Always ensure you are using the correct settings, pre-pressing the garment, and using compatible materials.
4. Do you peel heat transfer vinyl hot or cold?
Whether you should peel hot or cold depends on the type of HTV you are using. Some HTVs require a hot peel, some require a cold peel, and others are universal. Hot peel means you peel off the carrier sheet immediately after pressing, whereas cold peel means you wait for the design to cool down before peeling off the carrier sheet. Always refer to the instructions that come with the HTV for proper peeling methods.