Guide: How to Put Vinyl on a Hat with an Iron – DIY Tips
Adding vinyl to a hat may seem daunting, but it’s quite manageable! This guide is here to help you adorn cotton hats with heat transfer vinyl (HTV) using tools like an EasyPress, a heat press machine, or a standard iron, ensuring proper adherence and durability of up to 100 washes when applied correctly.
We’ll demonstrate that with patience and the right technique, adding vinyl can be straightforward and rewarding. This guide will provide step-by-step instructions, tips for selecting the right vinyl, and advice on heat settings to equip you with the knowledge for optimal results. Dive in, and discover how introducing vinyl on a hat can be a fulfilling task, resulting in unique and durable designs!
Can you use an iron instead of a hat press?
Using an iron instead of a hat press to apply heat transfers to hats can be done but might be less effective due to hats’ curvature. Place the hat on a heat-resistant surface, preheat the iron, position the transfer, and apply heat and pressure evenly for about 10-15 seconds or as per the transfer’s instructions. Carefully peel off the backing, reapply heat if needed, and ensure the material and heat level are suitable to avoid damage. Achieving even heat and pressure on a curved surface can be challenging and requires adjustments.
Materials Needed for Applying Vinyl to a Hat with an Iron
- Hat: Select a suitable hat, ideally made of cotton or polyester, ensuring it has a clean, smooth surface to work on.
- Vinyl: Opt for Heat Transfer Vinyl On Hats, specifically crafted for heat applications and available in a variety of colors and finishes.
- Iron: Employ a standard, clean iron and adjust it to the correct temperature following the vinyl’s instructions closely.
- Parchment Paper/Teflon Sheet: Use this as a protective layer between the iron and vinyl, it guarantees even heat distribution and safeguards the design against potential damage.
- Weeding Tools: Specialized tools such as hooks or picks are instrumental for removing excess vinyl, ensuring precision in the process.
- Cutting Machine/Scissors: These are paramount for executing intricate cuts and maintaining the integrity of your design.
- Design Template: Keep a ready template of your design handy, available in either printed or digital format.
- Measuring Tools: Utilize a ruler or measuring tape to ascertain the correct design centering and alignment on the hat.
- Marker/Pen: These are vital for tracing designs onto the vinyl when a cutting machine isn’t in use.
- Ironing Pad/Towel: These offer a stable, heat-resistant surface suitable for ironing.
- Clean Cloth/Rubbing Alcohol: Ensure the hat is clean before application; this step is crucial for optimal vinyl adhesion.
Top Materials, Alternatives, and Purchase Locations
Vinyl:
- Use heat transfer vinyl (HTV) sheets.
- Alternatives: Glitter, Flocked, or Reflective HTV.
- Buy from craft stores, Amazon, eBay, or Heat Transfer Warehouse.
Hat:
- Choose a hat made of heat-resistant materials like cotton.
- Alternatives: Canvas or polyester hats.
- Buy from apparel stores, Walmart, Target, Amazon, or specialty stores.
Iron:
- A standard household iron is suitable.
- Alternatives: Heat press machine or EasyPress by Cricut.
- Buy from department stores, appliance shops, Amazon, or Best Buy.
Parchment Paper/Teflon Sheet:
- Acts as a protective layer between the iron and vinyl.
- Alternatives: Baking paper or heat transfer cover sheets.
- Available at grocery, craft stores, or Amazon.
Weeding Tools:
- Used to remove excess vinyl around the design.
- Alternatives: Tweezers or an X-Acto knife.
- Available at craft stores or online platforms like Amazon and eBay.
Cutting Mat and Craft Knife/Vinyl Cutter:
- Essential for accurate design cutting.
- Alternatives: Scissors for simpler designs.
- Purchase from Michael’s, Joann, Amazon, or eBay.
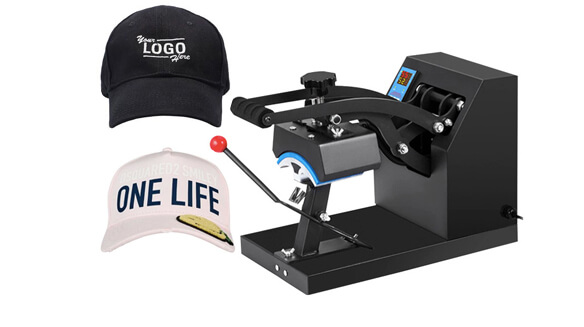
Can you heat press vinyl on caps?
Yes, applying heat press vinyl to caps is indeed possible, but it notably requires more attention and precision compared to flat surfaces such as t-shirts, owing to the caps’ curved configuration. For those wanting to streamline this process, there are specialized heat press machines explicitly designed for caps available in the market. These innovative machines are meticulously crafted to align with the unique, curved architecture of a cap, making the application of vinyl seamless and efficient.
Preparation Steps
Prior to adhering the vinyl to the cap, it’s essential to prepare both the vinyl and the cap. Start by ensuring the cap’s surface is free of dirt and residue. Next, meticulously cut and weed out any surplus material from your design on the heat transfer sheet.
Furthermore, modify your iron’s temperature settings to align with the nature of the fabric – be it cotton or polyester. This step is pivotal as different fabrics require varied heat levels for optimal results.
Preparing the hat: cleaning and drying
Before you venture into applying vinyl to a hat, thorough cleaning and drying of the hat are crucial. Any dirt or residues left on the surface can hinder the seamless application of the heat transfer vinyl and might lead to discoloration or damage.
Ensure that sweatbands are pulled down and back straps are unhooked to allow full accessibility during the pressing of the hat. If the hat has plastic inserts, remove them before placing it on the hat pressing form.
For uniform heating, it’s important to avoid bunching up the back strap. This precaution helps prevent areas of the hat that are not in direct contact with the iron from overheating. Once all elements are aptly managed, press gently with moderate, even temperatures. Ensure that the heat is evenly distributed across all sections of the material, and avoid applying excessive pressure as it might lead to peeling or curling of your design.
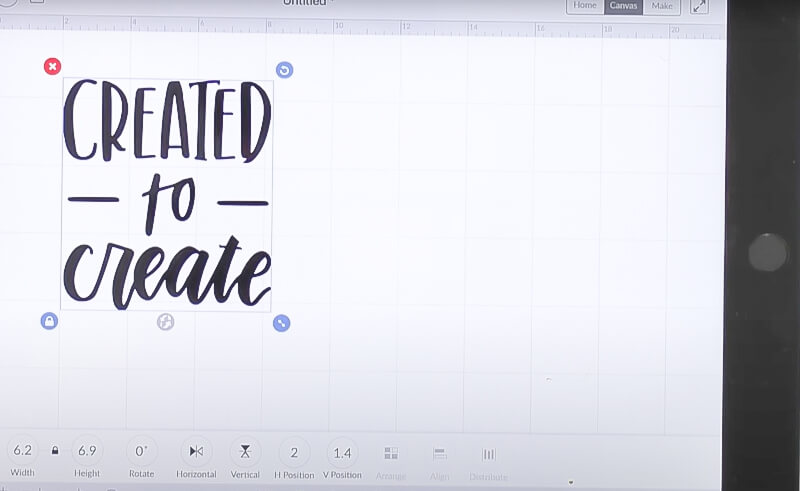
Preparing the vinyl: cutting and weeding
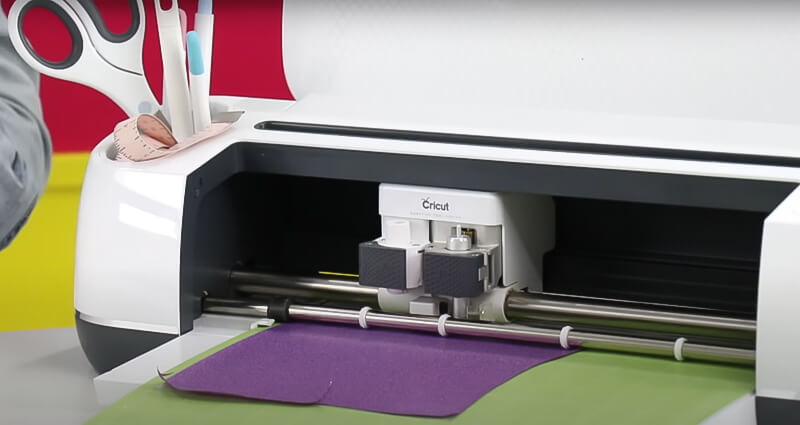
Cutting and weeding vinyl are pivotal steps in the customization process, requiring meticulous attention and preparation. By ensuring that the image is accurately prepared and the surface is flat, you facilitate precision cuts with a cutting machine, such as Cricut, thereby setting the stage for a seamless application.
Post the cutting phase, it’s essential to weed out any excess or undesired vinyl, a process aptly termed ‘wedding’. This step is integral in refining your design, contributing to a polished and professional appearance of the customized hat.
Weeding is instrumental in eliminating superfluous vinyl pieces while preserving the vital elements of the original design, paving the way for accurate application on your chosen fabric or item. This meticulous process guarantees that no additional material interferes with or detracts from the intricate details during the application, ensuring a clean, precise finish.
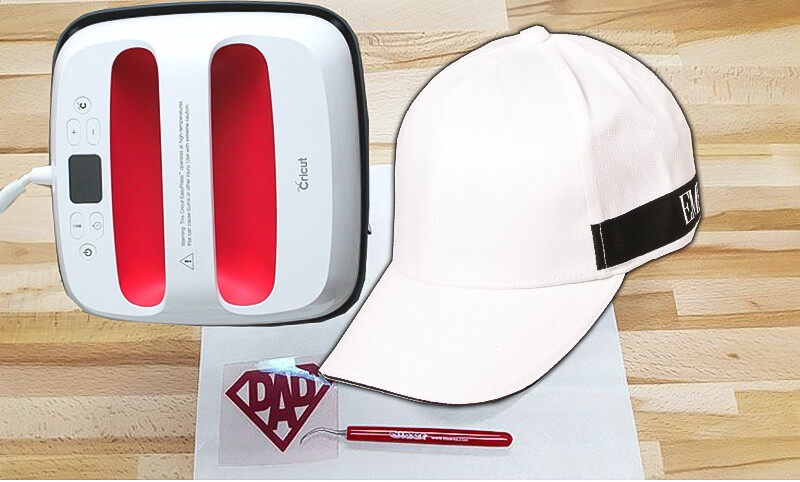
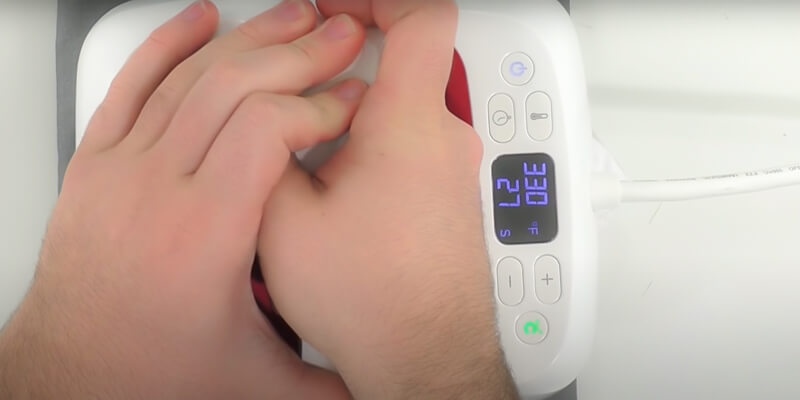
Preparing the iron: temperature settings
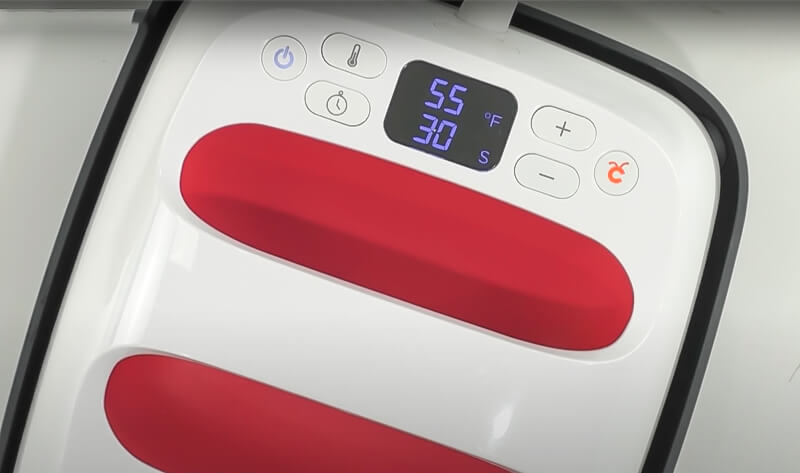
Ensuring the correct temperature for applying vinyl to a hat is pivotal for achieving a flawless and successful transfer. Knowing What Temperature Do You Heat Press A Hat is essential, as it varies based on the type of iron and vinyl being used.
When utilizing a Cricut Hat Press, the advisable temperature spectrum typically lies between 300°F and 355°F (150°C-180°C) on the medium setting. For those opting for a common household iron, it’s recommended to stick to medium or high settings, not exceeding 305°F.
To hone in on accuracy, tools such as the Cricut Heat App and Cricut Hat Press App serve as invaluable resources. These apps provide guidance on optimal time and temperature settings, customized for each unique project and material. By employing these tools, users can ensure a tailored approach that accommodates the specific needs of each venture.
For a comprehensive guide on different materials and their corresponding heat settings, explore our detailed article on Heat Transfer Vinyl Temperature and Time.
Step-by-Step Guide to Putting Vinyl on a Hat with an Iron
How do you iron-on Cricut vinyl on a hat with an iron?
Ironing Cricut vinyl onto a hat is simple with the correct procedure. Begin by preparing a mirrored design and precisely cut the vinyl. Set the iron to cotton and ensure it’s steam-free. Secure the hat on a flat surface, using towels if needed. Position the design with the adhesive side down, covering it with a light cloth or parchment paper. Press the iron firmly for 15-30 seconds, ensuring even heat, especially at the edges. Afterward, gently peel off the carrier sheet, re-ironing any loose parts. Consider the hat’s material to avoid damage and allow the vinyl to set for at least 24 hours before washing.
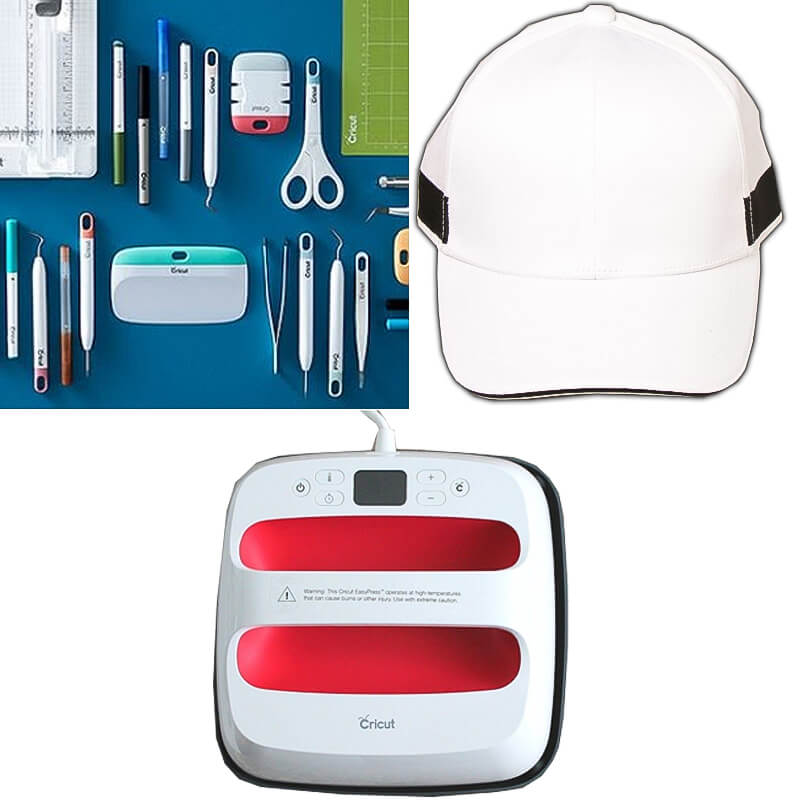
Step 1: Gather Materials
You will need:
- A hat
- Vinyl design (pre-cut)
- Iron
- Parchment paper or Teflon sheet
- Scissors
- Weeding tool (optional)
- Heat-resistant tape (optional)
cut hat print design
Step 2: Preheat the Iron
- Set the iron to the temperature recommended by the vinyl manufacturer. Most heat transfer vinyl (HTV) requires a temperature of around 305°F (150°C).
Step 3: Prepare the Hat
- Place the hat on a flat, heat-resistant surface.
- If possible, insert a heat-resistant form inside the hat to create a flat surface for the vinyl application. This can be a small heat-resistant pillow or a folded towel.
Step 4: Position the Vinyl Design
- Cut out the vinyl design and weed away any excess material.
- Position the vinyl design on the hat where you want it to be applied. Use heat-resistant tape to secure it in place if necessary.
Step 5: Apply Heat
- Place a piece of parchment paper or a Teflon sheet over the vinyl design to protect it.
- Carefully apply the preheated iron to the design. Use firm pressure and move the iron in small circles for about 15-30 seconds, or according to the manufacturer’s instructions.
- Pay attention to the edges and corners of the design to ensure proper adhesion.
Step 6: Peel off the Carrier Sheet
- Allow the vinyl to cool down for a few seconds.
- Carefully peel off the carrier sheet. If the vinyl is not sticking properly, replace the carrier sheet and reapply heat.
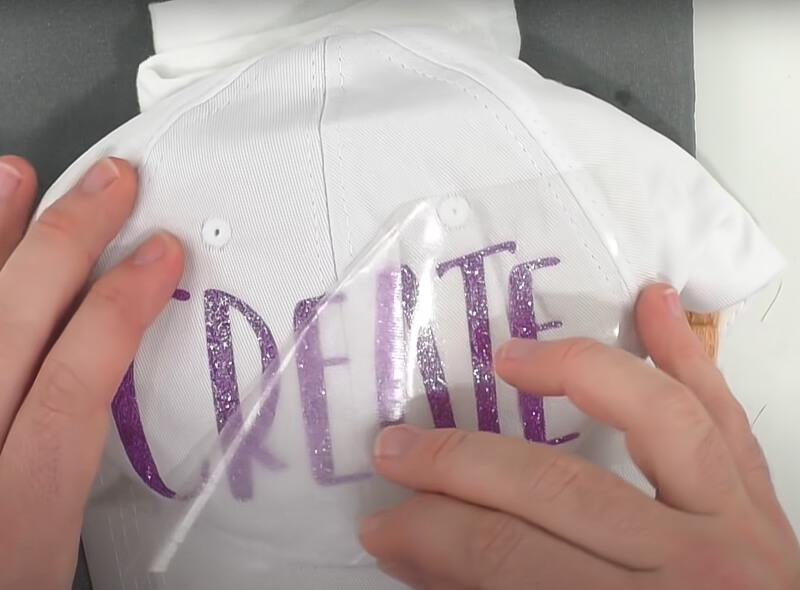
Step 7: Check and Secure
- Check the edges of the design to make sure they are securely adhered to the hat.
- If any part of the design is lifting, cover it with parchment paper or a Teflon sheet and reapply heat.
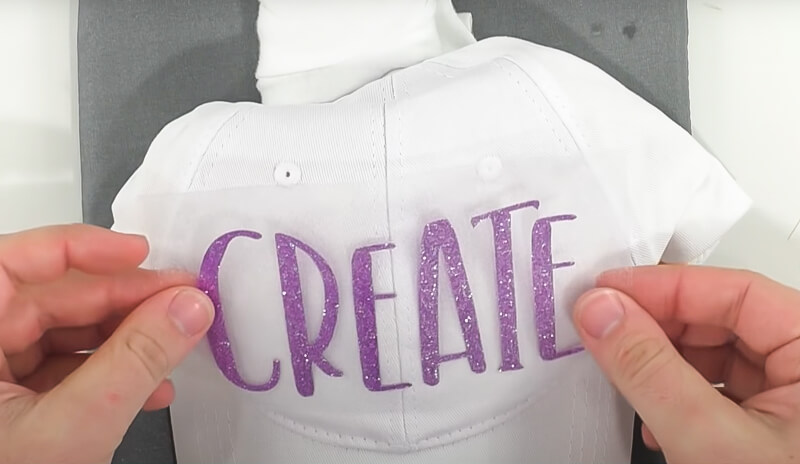
Step 8: Enjoy Your Customized Hat
- Once the vinyl is securely adhered to the hat, you’re done! Enjoy your newly customized hat.
Possible challenges and solutions
Applying heat transfer vinyl to a hat using an iron can pose several challenges, primarily due to the hat’s curved surface. Below are some frequent issues encountered and practical solutions for overcoming them:
- Inconsistent Pressure: A lack of consistent pressure can hinder the vinyl’s adhesion. To counter this, ensure consistent pressure is applied on both sides of the fabric. Placing a pair of thin socks inside the hat can provide additional padding, ensuring an even distribution of pressure during application.
- Preheating: This step is essential. Preheat the working surface for 2-3 seconds before pressing to activate any adhesive or waxes in the vinyl, improving adhesion during the further heating process.
- Invest in a Heat Press Machine: For superior results, consider investing in a heat press machine or a mini version, available at craft stores or online. While they are a larger initial investment compared to home irons, these machines apply even pressure efficiently across larger areas, ensuring high-quality transfers and saving valuable time.
- Mirroring Images: Pay special attention to mirroring each design before cutting on your cutter mat. Failing to do so will result in reversed designs upon transfer, potentially costing hours in corrections. Remember to double-check the side orientation and ensure each design is placed face down before trimming.
Tips and Tricks for Successful Vinyl Application
With the right materials and proper technique, you can achieve a professional-looking result when applying vinyl to your hat with an iron. If you’re questioning, Can You Sublimate on Acrylic Beanies? exploring the right methods is crucial for a seamless application on such materials. Continue reading for easy and handy tips that will help make your next project successful!
Advice on ensuring a smooth application
Applying vinyl to a hat using an iron demands careful attention and precision to secure the sought-after outcome. Applying consistent pressure is vital, preventing any undesirable drips or wrinkles in the vinyl.
Maintaining a steady, moderate temperature is crucial. Overly high heat can be detrimental to both the hat’s fabric and the vinyl, potentially causing bubbling. For a flawless finish, proper alignment of your design on the hat is paramount before application – guaranteeing tidy results every time!
Should any complications emerge, such as ripples or bubbles on the surface, gently detach the vinyl from the hat, ensuring it remains on the paper masking. Reapply gently using lower heat settings to rectify the issue. Incorporating these tips can significantly enhance the likelihood of a seamless, impeccable vinyl application on your hats!
Troubleshooting: addressing common issues and how to fix them
When working with iron-on vinyl for hats, bumps in the road are to be expected. Having troubleshooting tips at your disposal can turn potential setbacks into successes. Here are solutions for common issues: sticking problems, color migration, and cutting/weeding challenges.
- Sticking Problems: If the vinyl doesn’t adhere well after wear or wash, revisit the application process. Ensure the temperature is suitable for the fabric, typically between 305°F 315°F. Apply heat evenly, moving slowly across the design. Use stabilizer sheets between layers to avoid blisters.
- Color Migration Issues: This occurs when colors bleed into each other due to a weak adhesive bond or rapid, deep welding around edges. To prevent this, adhere to the manufacturer’s guidelines, using lower temperature settings for multi-colored transfers. Apply firm, steady pressure where colors meet, being cautious around edges.
- Cutting/Weeding Challenges: Having issues with work time? This is common when exploring different HTV brands and learning precise cutting techniques. Precision is key; avoid miscalculations that lead to adhesive issues. After weeding out excess pieces, align your design accurately and commence pressing. Don’t forget the post-application curing time and cleaning of unused sheets.
Maintaining and Caring for Your Vinyl-Decorated Hat
Keeping your vinyl-decorated hat in pristine condition is not the same as caring for a regular piece of clothing. Stay informed about the best cleaning and maintenance practices to ensure longevity!
How to wash and care for the hat to ensure the longevity of the vinyl
Maintaining the longevity of your hat adorned with vinyl decorations necessitates particular care steps. Wondering Does Heat Transfer Vinyl Last? Employing the right cleaning and maintenance practices is pivotal for ensuring the durability of the vinyl. This sentence addresses the durability of vinyl hence, it is a fitting place to insert the link with the mentioned keyword.
In doing so, it’s vital to use warm water—about 85°F or 30°C—and a gentle textile detergent devoid of bleach, adhering to any care guidelines indicated inside the hat. Excessive heat has the potential to compromise the vinyl design, so it’s pivotal to avert high temperatures to prolong the attachment of the design on your hat.
Similarly, cold temperatures are essential when washing hats featuring HTV designs. Employing cold water exclusively is paramount as it aids in averting any potential damage during the washing process, thereby ensuring the longevity and vibrancy of your decorative hat.
What to avoid to prevent damage
When embarking on applying iron-on vinyl to hats, vigilance is key. Steer clear of pressing on areas with eyelets, mesh, or plastic pieces, as the applied heat could potentially harm the hat or induce the lifting of the HTV. Likewise, excessive heat might cause the vinyl to detach, so exercise caution and meticulously follow temperature guidelines.
For cleaning, cold water is your go-to and abstain from dry cleaning as it can adversely affect HTV imprints. An alternative consideration is low-temp HTV for decorating baseball caps, which necessitates lower temperatures, thereby diminishing the risk of heat-induced damage.
Conclusively, when tending to a hat adorned with vinyl, the golden rule is to wash it inside out and opt for air-drying – forgoing tumble drying – to assure the lasting vibrancy and integrity of your design.
Conclusion
Applying vinyl to a hat with an iron is a relatively straightforward procedure, achievable with a few basic tools. It is essential to have the right resources at your disposal, including suitable fabric, HTV film, optional parchment paper, and either an iron or a heat press machine.
For prime results, it’s imperative to apply uniform pressure while imprinting the design on your hat, ideally for around 25 seconds. A warm peel is advocated following the application, ensuring each component of the design firmly attaches to the fabric.
Moreover, appropriate care of the embellished item is paramount for prolonging its lifespan. Hats should be exclusively washed inside out in cool water, using a gentle detergent, and promptly air-dried.
By meticulously following these guidelines, you can effortlessly produce unique designs on any cotton hat!
FAQs
1. Can you use a regular iron to iron on Cricut decals?
Yes, applying Cricut decals is feasible with a regular iron, but it necessitates mindful considerations. Regular irons might fall short of delivering the uniform heat or pressure that a heat press or Cricut EasyPress can, potentially affecting the transfer’s quality and endurance. It’s vital to set the iron to the appropriate temperature for the vinyl, exert steady pressure, and adhere to the recommended ironing duration without steam to avert complications. Additionally, placing a thin cloth or parchment paper between the iron and the decal serves as a preventive measure against potential damage to the vinyl.
2. Do I need a heat press for Cricut or can I use an iron?
While using Cricut, a regular iron suffices for smaller projects, eliminating the necessity for a heat press. However, for larger endeavors or when seeking professional, consistent outcomes, opting for a heat press or Cricut EasyPress is advisable. These devices guarantee uniform temperature and pressure, fostering enhanced adhesion and durability of the vinyl, particularly on fabrics. When utilizing a regular iron, adhering to the instructions accompanying the vinyl and maintaining consistent temperature and pressure is imperative.
3. What is the best iron-on vinyl for hats?
Selecting the optimal iron-on vinyl for hats depends on personal preference, project needs, and budget. Siser EasyWeed and Cricut are reputable brands, known for their diverse colors, finishes, and user-friendly application. Examining product specifications, reading user reviews, and trying out different brands are key steps to finding the right fit for your projects. Balancing brand reputation with individual crafting needs will guide you to the ideal choice.